Resurrecting an Ender 5 Plus
If you’re just interested in the actual repair, click here to skip to the TL;DR at the bottom.
Getting Into 3D Printing
I’ve always looked at 3D printing with fascination. I thought it was so cool how a community built around tinkering, improvement, and a lot of open-source contribution had refined the appliance that I remember using maybe once in a very clunky and cumbersome way back in high school into a capable, sometimes bespoke, fabrication tool. Much like the comparison of early computers to modern ones, gone are the days of towering room and refrigerator sized devices. Now we have lightweight, compact, and fast printers.
But I didn’t feel like I needed one, just that I’d probably enjoy messing with it if I ever could. Then I took a trip to see my grandparents.
The Renaissance Man
Every time I get a chance to go see my grandparents I am treated to a catch-up session of my step-grandfather’s latest projects and creations, and it’s one of the things I look forward to most about visiting. The guy is a proper renaissance man. Among his many skills are cooking and baking to a delicious degree, electrical circuit design and the soldering to make it happen, a bit of plumbing, drywalling, and carpentry, amateur radio, yogurt making, woodworking, 3D printing, and as of a recent afternoon in which he came home and proclaimed that he was suddenly interested in enrolling in a course at the local community college, welding. He seems to just be full of cool ideas driven by an interest in doing, and whenever he doesn’t know how to do something, he dives headfirst into learning about it. Just being around him is a source of inspiration that leaves me thinking “Yeah! Why don’t I start creating more? Why not!”
Well I’m sure there will be plenty of other times to talk about him on here as I pick up new hobbies and skills from him the next time I visit, but this most recent time he wanted to show me his newest 3D printer.
He’d had a few for quite a while: an older Ender 3 which had broken down in a burdensome way and become a parts-donor, and a more recent Ender 5 Plus which had been his workhorse for years. He’d used it to make toys for the grandchildren and members of his church, as well as fabricating actually useful tools and implements for his shop. He designed and 3D printed fixtures that let him hook up other tools in his workshop like the CNC router he’d built as well as his laser cutter to a central air exhaust system that collected sawdust or vented fumes. Well as I’d soon come to learn, the Ender series of printers is a bit notorious for needing tinkering to keep it going from time to time, and after doing that plenty of times in the past he found himself at a decision point: did he continue to repair this printer he was now spending half of the time maintaining, or did he upgrade to something new which was more stable and capable.
Like any enthusiastic craftsman with a valid excuse for an upgrade, he pulled the trigger on a new tool, picking up a Bambu Labs P1S to replace his Ender 5 Plus which had experienced a major thermistor issue (more on that once I got my hands on it) and didn’t look back.
So there we were in his garage shop having a look at the cool new things he was able to print with the fancy Bambu material switching system, or how much of an easier time he had printing uncommon materials now that he had an enclosed print volume and had hooked the thing up to his ventilation system so he wouldn’t have to deal with the fumes. I was thoroughly impressed, and once again found myself thinking about how much I’d like to be working on creative projects like this since I’d become aware of and very dissatisfied with my stagnation and regular doom-scrolling in my free time. After chatting for a while and me mentally resolving to try to incorporate more creative endeavors into my life, we went back inside for lunch and I sat down to read while he went back into the garage to roast some coffee beans from his latest received shipment.
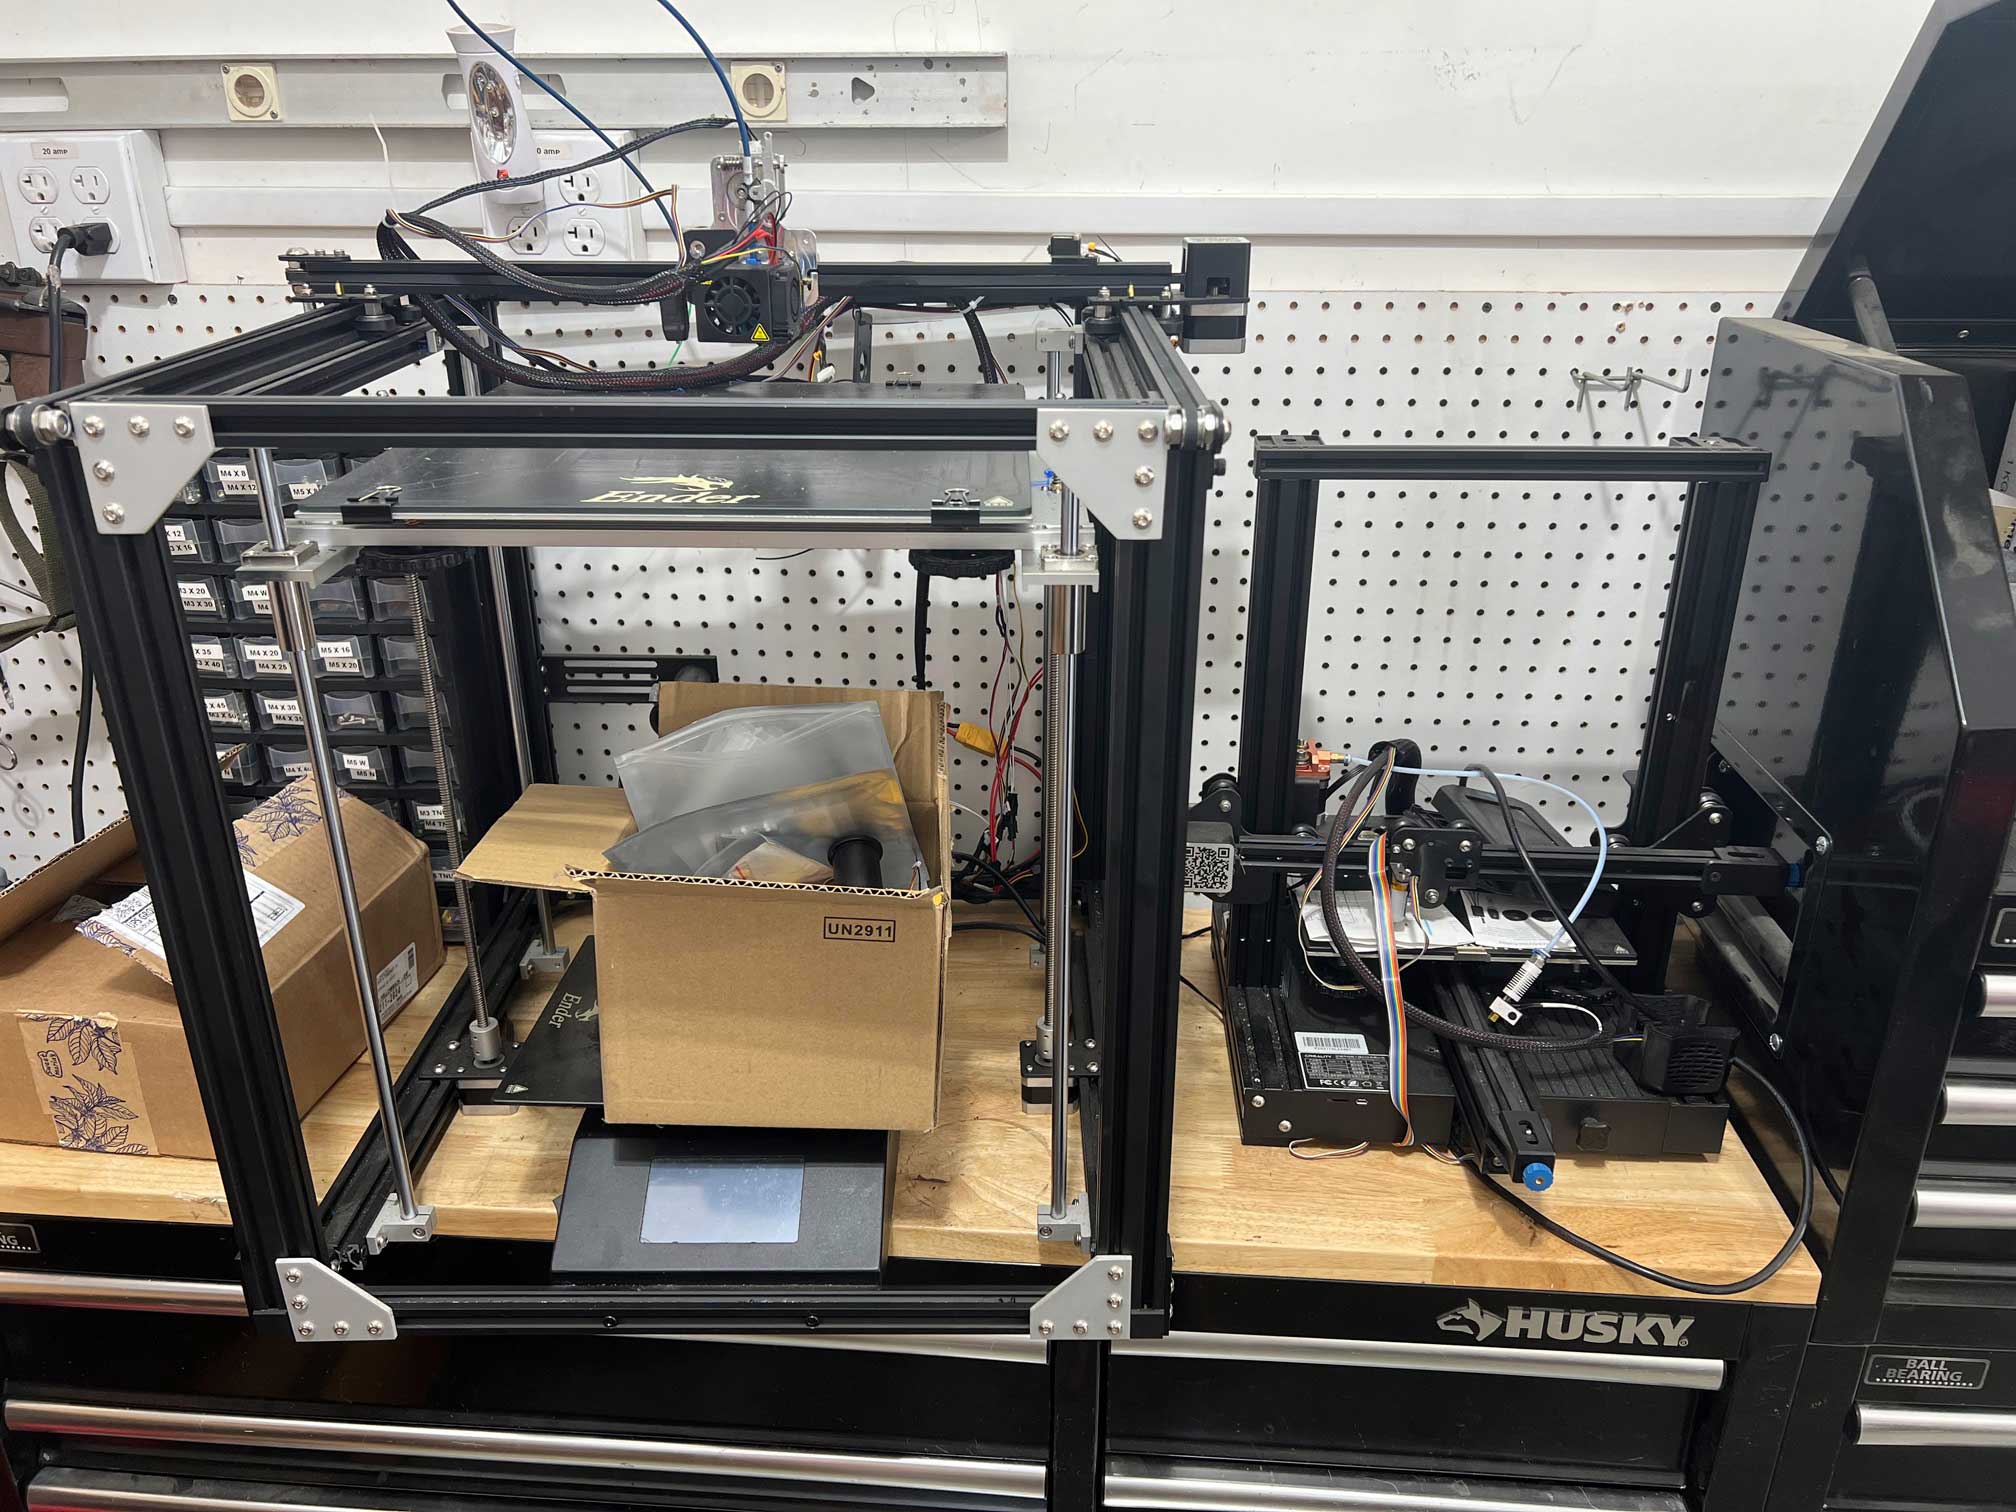 After a while he came back in and asked if I could show him the trunk of my new car that I’d driven over in. I gave him a tour, after which he pulled out a tape measure, checked a few dimensions, and supposed “I think it should fit.” I asked what he was talking about, and he brought me to one of his work-tables which had become the home of the long-dormant Ender 5 Plus, and a pile that used to be an Ender 3. “I’m going to send you home with this” he told me, and in that moment I changed that “try to” from earlier into an “absolutely”.
He warned me that it would definitely need a little love and a little work to get functional again, but gave me pointers on where I could find documentation, and suggested parts resources. I couldn’t thank him enough, and when I left at the end of that week I returned home with the very exciting cargo of a well loved 3D printer that may one day again fabricate some plastic. All I needed to do was start the repair, and luckily one of my best friends was an avid 3D printer user who might be able to help. We’ll call him Red for now. I just needed to figure out how to get him over.
Repairing the Printer, and Spicy Chicken
While it’s true that I didn’t really consider myself handy yet with DIY, tinkering, or any kind of repairs, I do consider myself proficient at cooking and baking, and there was a recipe that both I and Red had been wanting to try ourselves for a while. It was a spicy chicken, shredded cabbage, and sour cream combination on tostadas that we’d had at another friend’s house down in Los Angeles a while back. Incredibly delicious, incredibly spicy, and something I definitely felt like I ought to be able to whip up. I told Red I’d gotten a hold of the 3D printer as well as all of the ingredients for that dish, and he was on his way.
 This isn’t a cooking adventure though so I won’t bore you with that whole affair, I’ll just sneak in one photo of the finished product if that’s alright with you! They tasted so good, but we were sweating through every bite with those chipotle peppers in there.
While I was working away in the kitchen, Red started out by doing a once-over of the printer, making note of things which were either disconnected or visibly broken. Generally it seemed to be alright, but he came up with a list of things that we’d want to start with including:
- Making sure it powers on
- Retracting the old filament
- Hooking it up to an OctoPi for testing and control
- Leveling the bed
- Cleaning or replacing the nozzle (of which my grandpa seemed to have sent me with dozens of spares)
- Checking the belt tensions
- Trying a print!
Thermistor Troubles
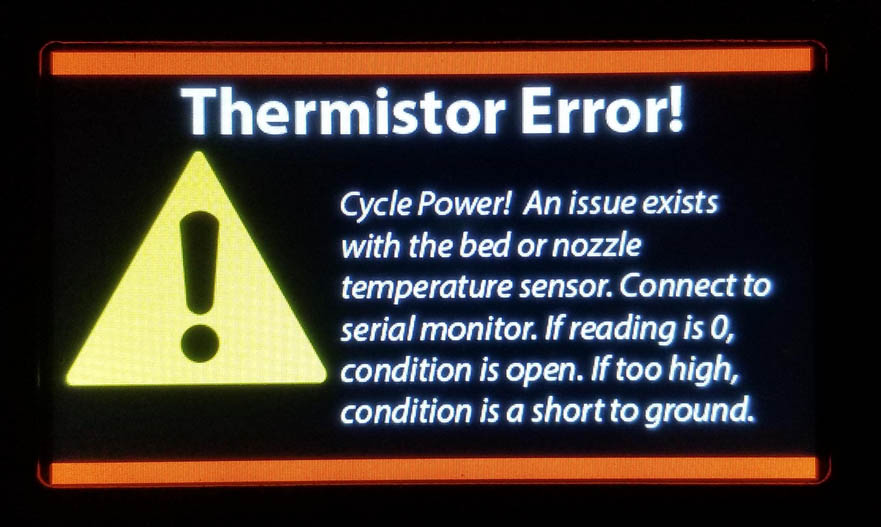 Well it powered on just fine, but when we tried to use the little built in screen to set the hot-end temperature so we could retract the old filament out of there we got a critical error with one of the thermistors. Not promising. Repeated attempt via different means yielded the same results, so we’d sadly run into a primary problem right at the start. But hey, we had our first goal!
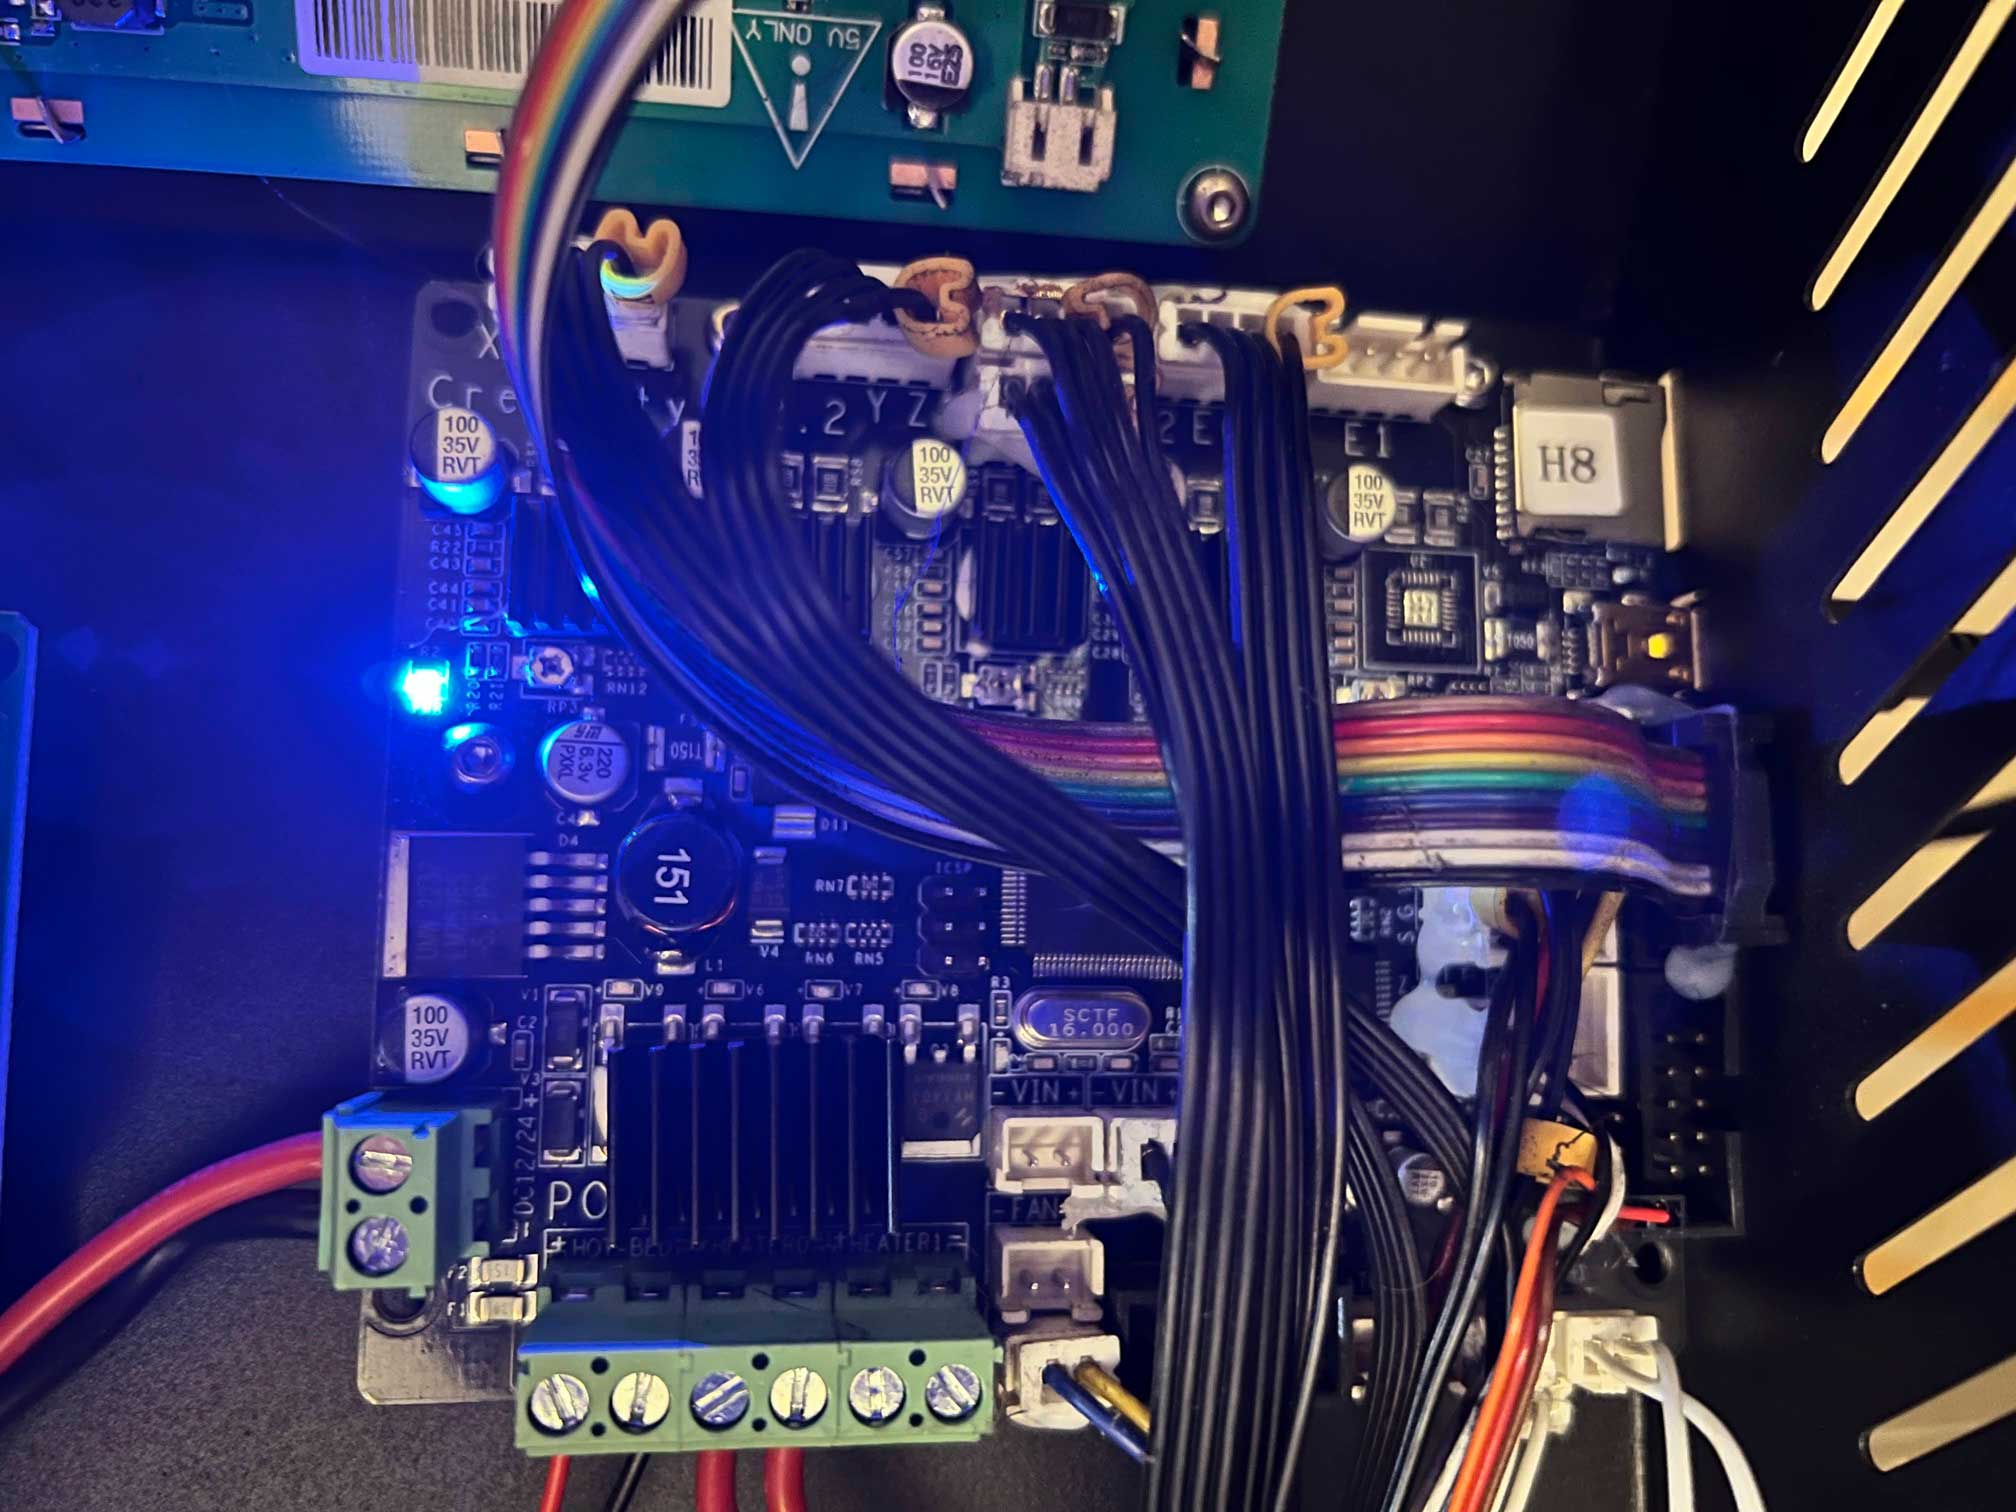
We cracked open the actual metal components chassis of the printer and took a look at the cable that ran between the hot-end thermistor and the board. Cable seemed intact and seated, or rather hot-glued to the board… A little application of isopropyl alcohol with some Q-tips solved the latter with shocking efficiency.
 One of the tests Red thought of was to check the resistance of the hot-end thermistor and compare it to the bed one. I had by this point deployed OctoPrint to a Raspberry Pi which let us see the bare minimum of output from the printer in its compromised state, and while the bed was reading about 20 degrees Celsius, the hot-end was reading -2. That’s clearly not right, so I agreed that resistance could be a good tell. Unlucky us when we found that they had the exact same resistances.
We checked and checked, and even tried comparing it to one of the brand new thermistors that my grandpa had included with the parts he sent me with, but all of them read the exact same thing: 100 kOhm, which is apparently what was expected. Bad thermistor was out. Maybe something was up with the firmware?
 The short answer was no. We’d tried modifying, recompiling, and flashing Marlin to the printer thinking that perhaps we’d just have to use a different thermal curve or sensor resistance for the hot-end, and after a few hours of adventure flashing and re-flashing firmware to the board and the screen, at one point being stuck entirely in Chinese, we were back where we’d started: a printer which could move, but which couldn’t heat up. I even looked into flashing Klipper to the printer so that values could be changed more rapidly while we troubleshot, but that too did not fix the problem. Firmware was out too. Dang.
By this point in the troubleshooting it was the next night and Red was back home over an hour away (hence why I had to lure him out with delicious spicy chicken in the first place) so we sat in a Discord call while I continued troubleshooting and eating leftover spicy chicken and he researched. Since we’d seemingly ruled out firmware as the cause and were pretty sure that the thermistor itself was okay since it had the exact same measured resistance when hot or neutral as the others, we started looking at the board. Red suggested I do continuity checks between one of the pins for the hot-end thermistor hookup and one of the surface-mounted resistors on the board. BEEP. Next he wanted me to check the resistance of that resistor in case it had somehow burned out. I grasped what he was after and gave it a shot, however either I suck at checking surface mount resistors (entirely possible) or this thing had given up the ghost because we were getting near zero resistance from it. We tried to diagnose it and confirm our suspicions a few other ways, and after about twenty minutes landed on components on the board being busted.
Board Swap
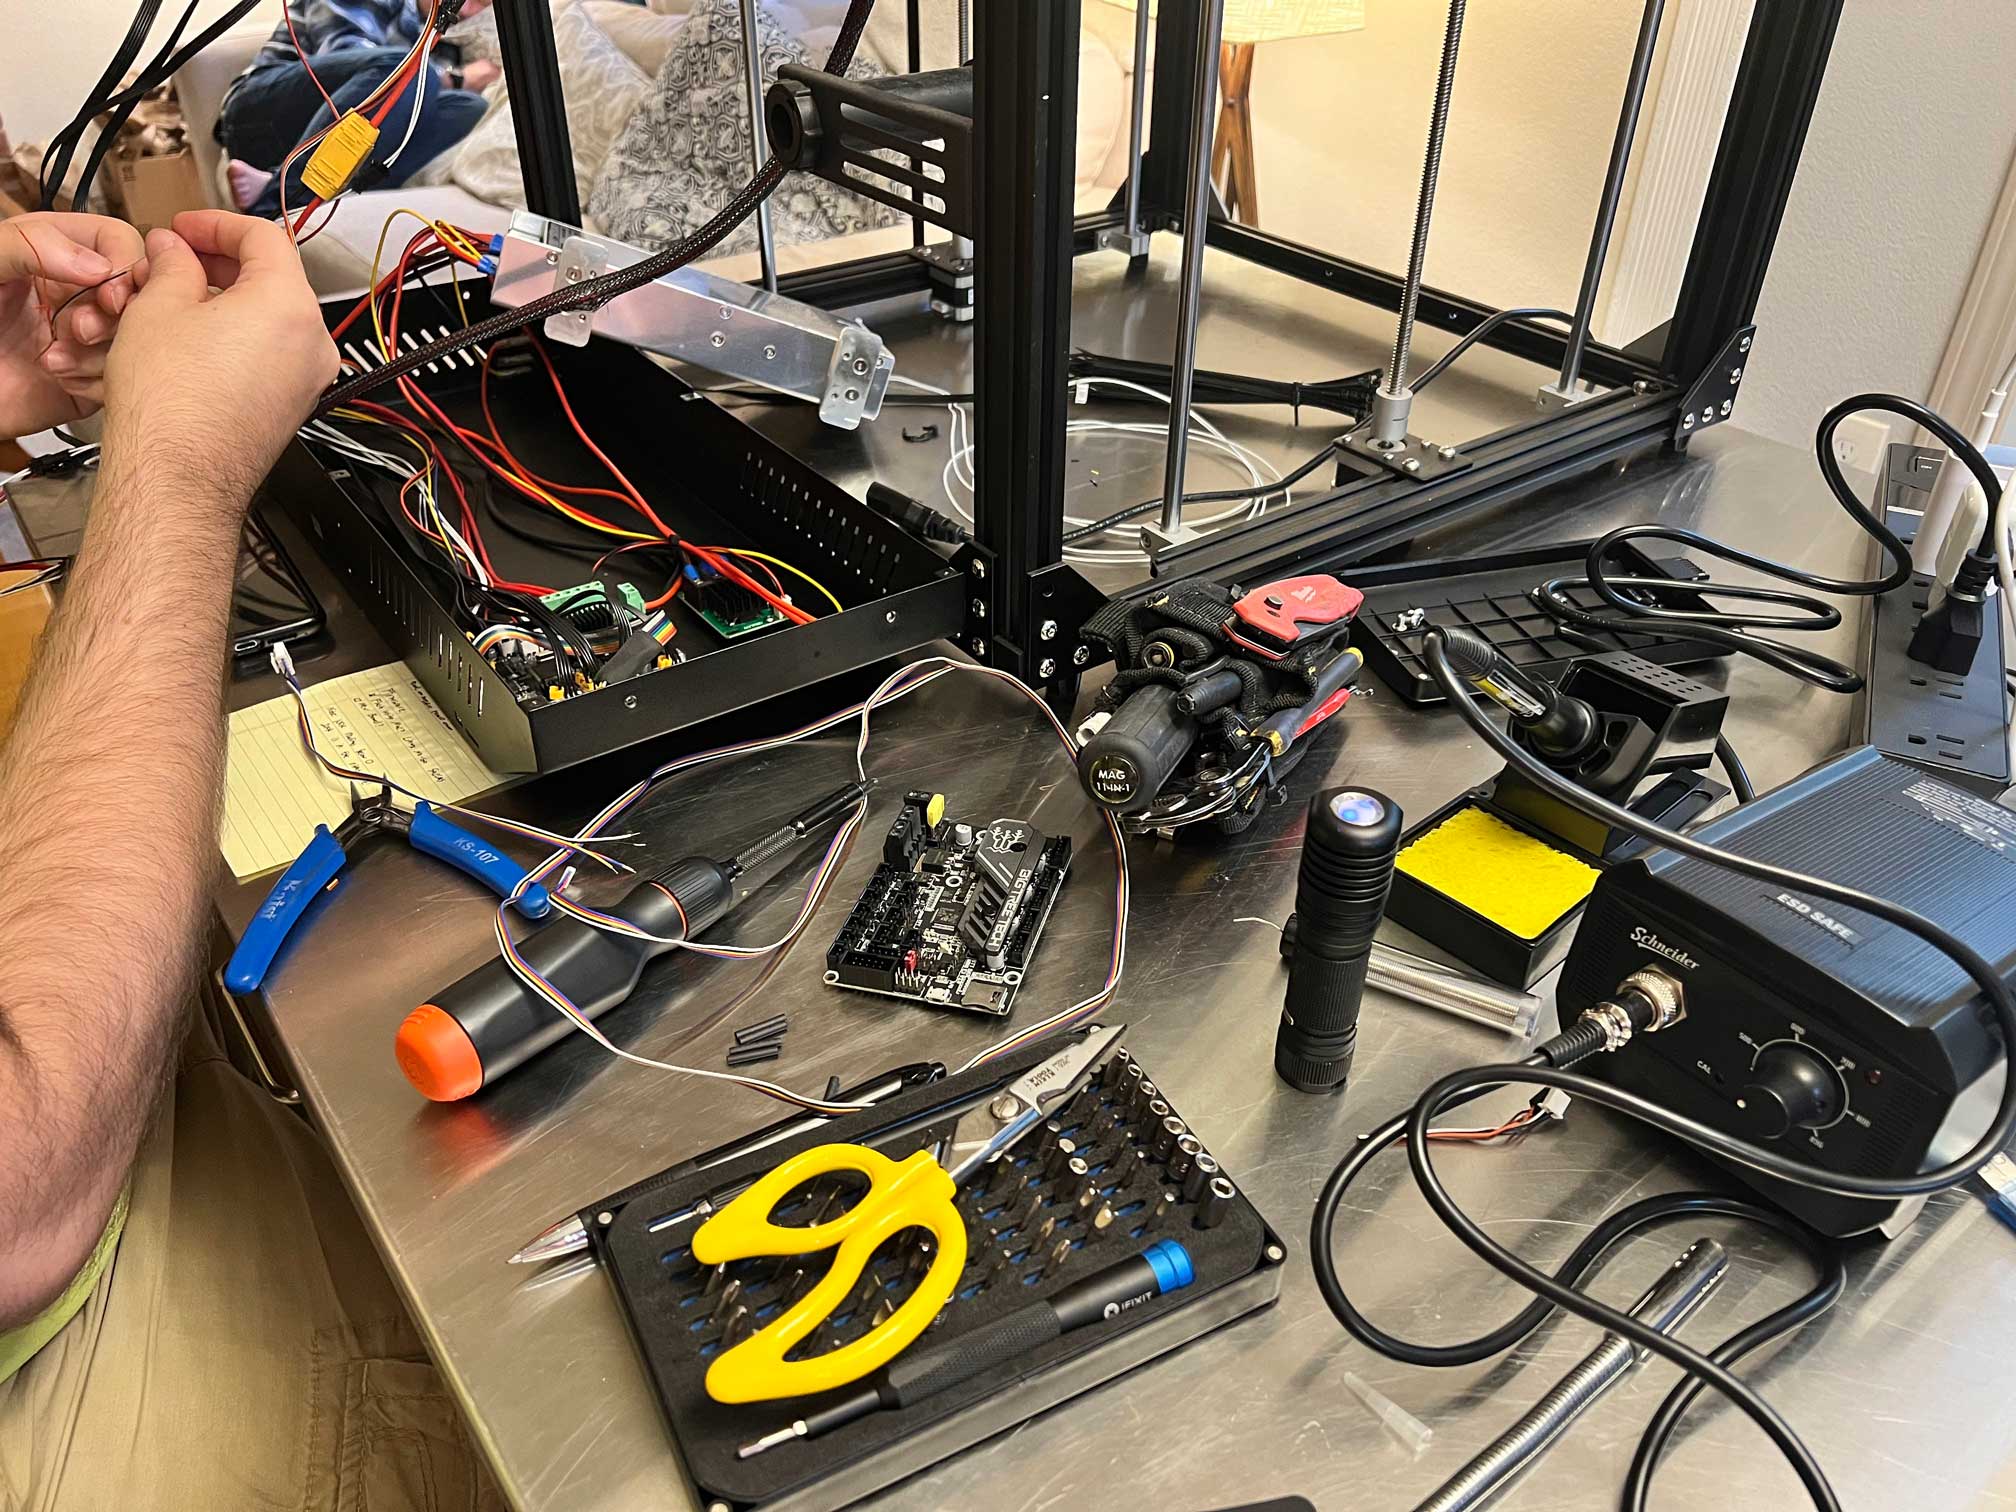
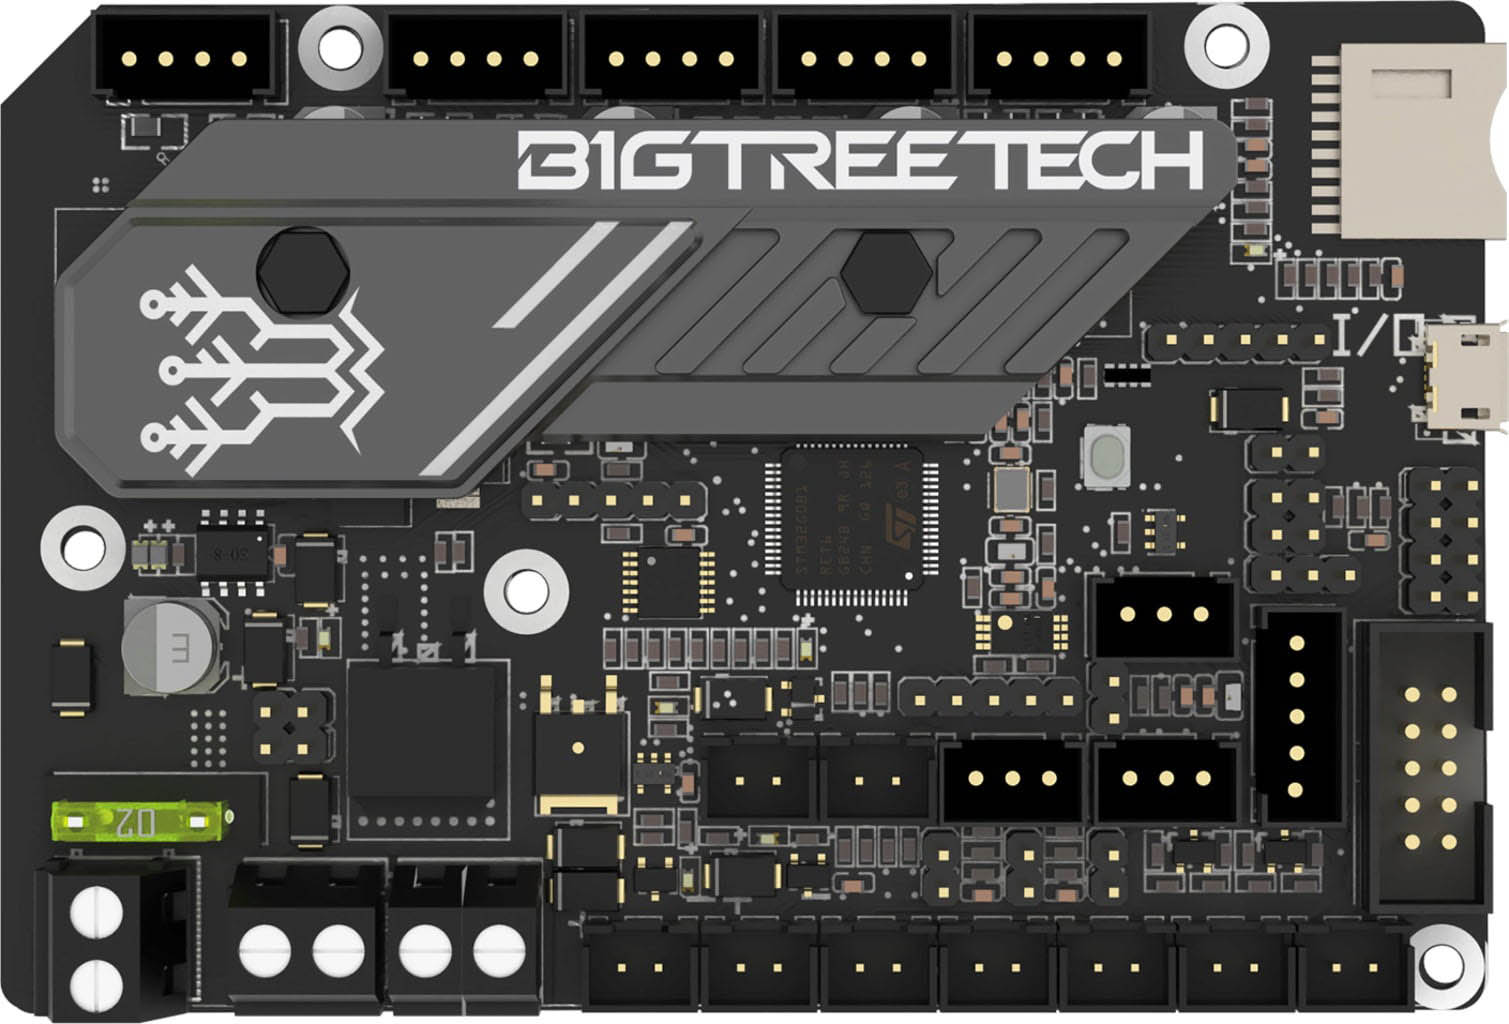 Technically we could have begun replacing potentially burnt out components on the board but I didn’t have a soldering iron, surface mount kit, or enough skill to confidently do that yet. I also found in my research that replacing the board with an upgraded 3rd party one would net me some pretty sweet other benefits (silent operation mainly), so I opted for grabbing a BigTreeTech SKR Mini E3V3 replacement board and overnighted it. I was too excited to wait.
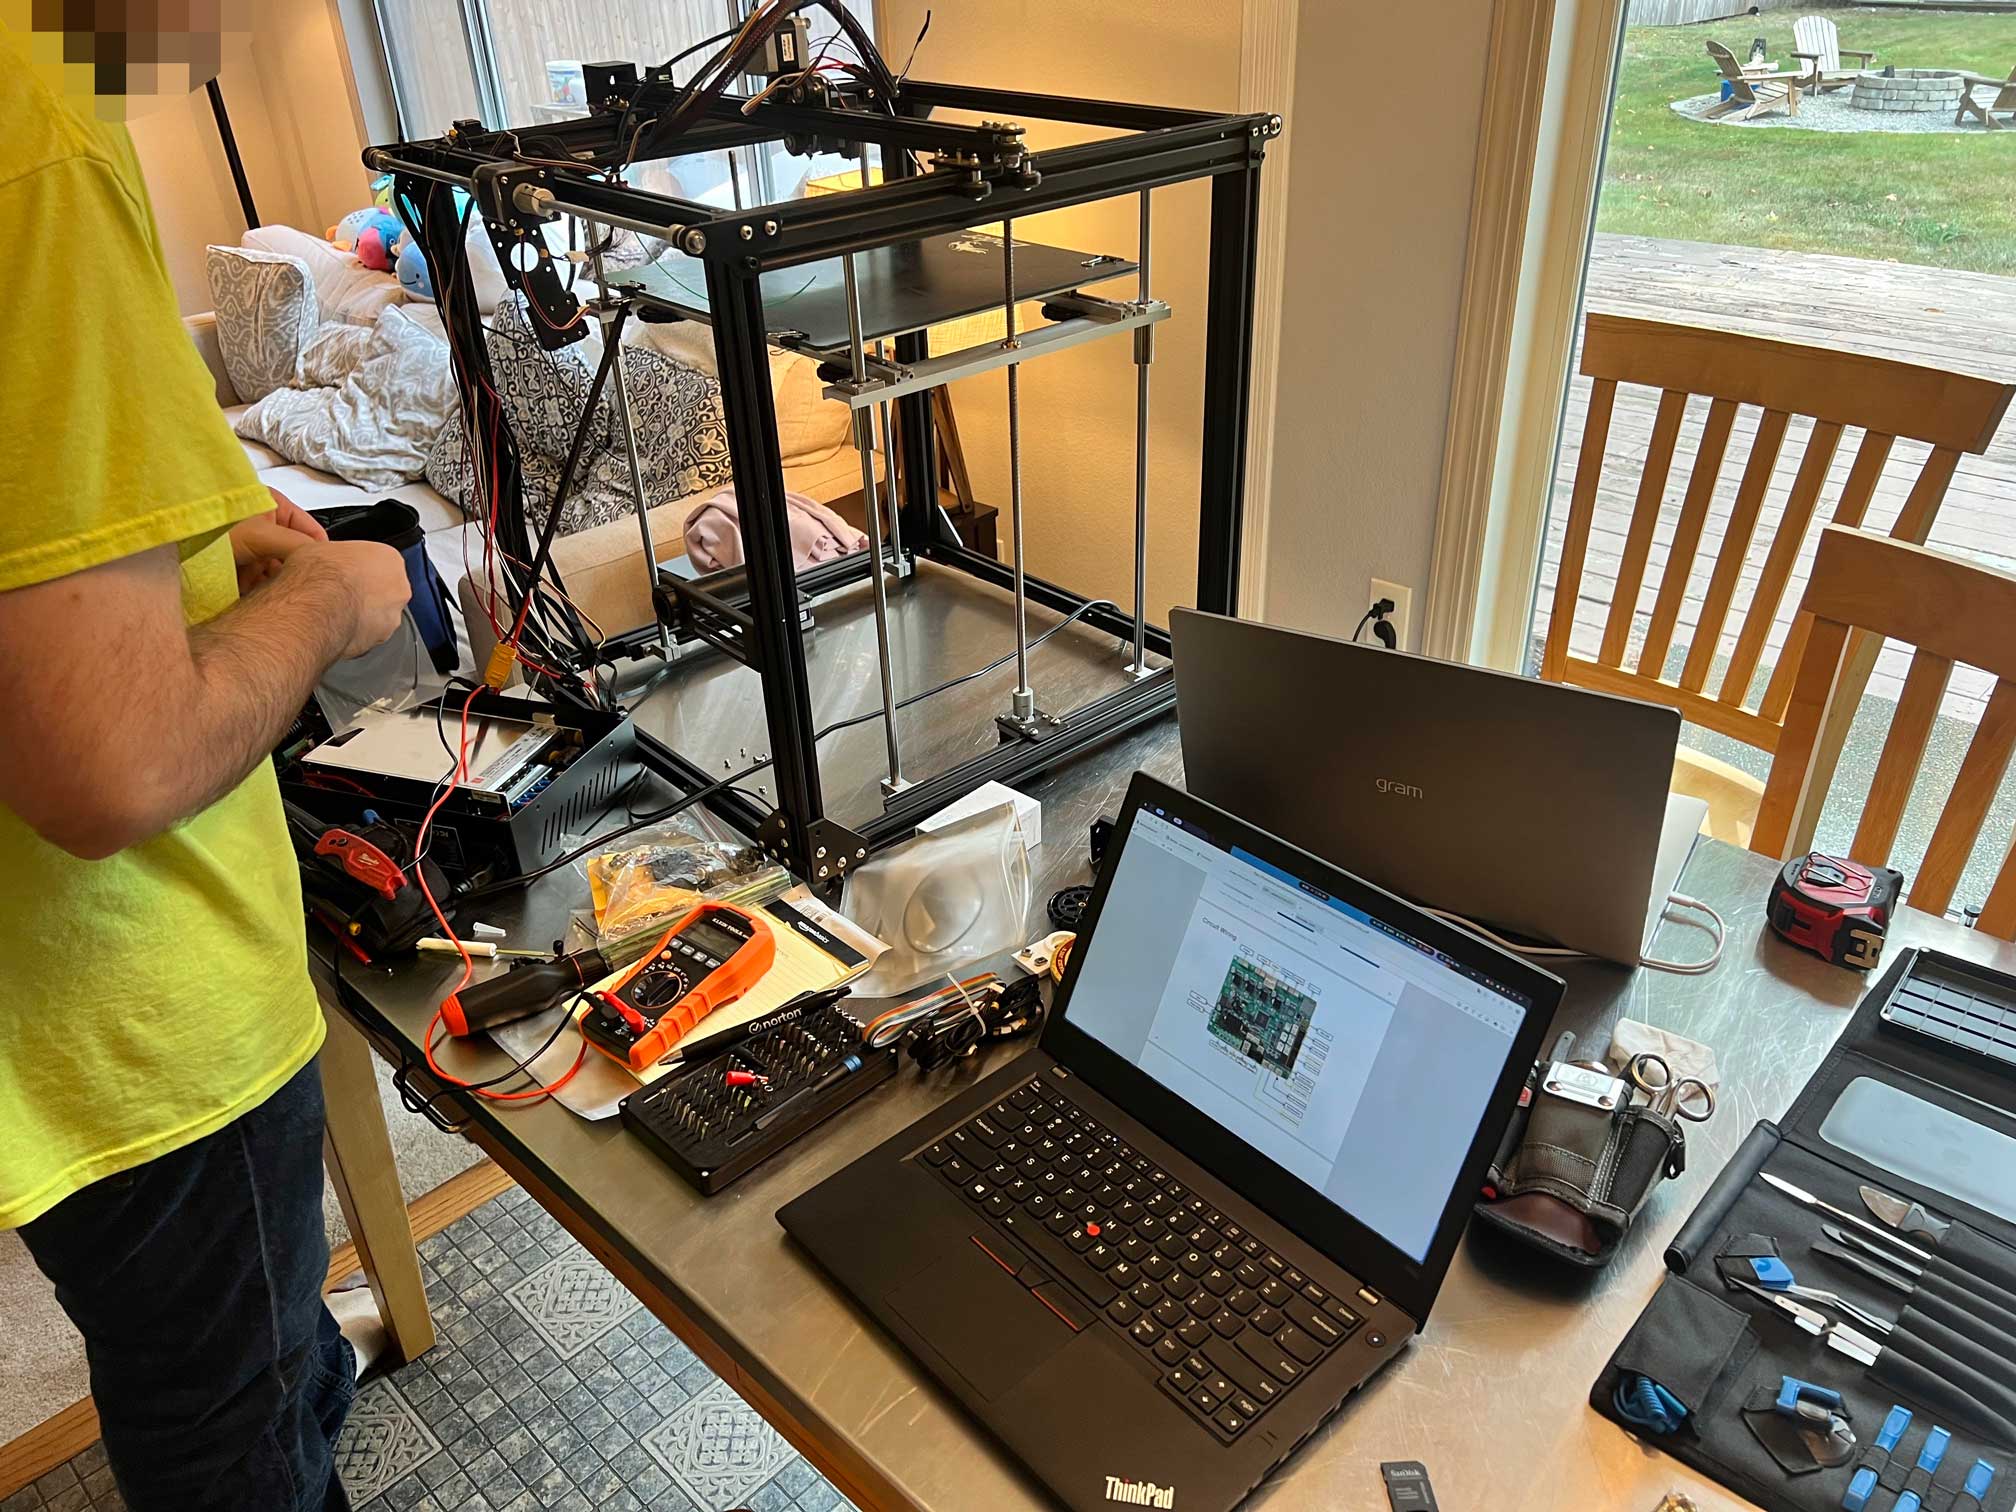
Once it had arrived Red rejoined me and we split some pizza while replacing the board. Most of the cables were a simple 1:1 swap thanks to helpful wiring diagrams we found for the old and the new board, except for one: the BLTouch module. You see my grandfather had been into modifying the printer, and had added a BLTouch, removed the Z end-stop, replaced the extruder with a MicroSwiss Direct Drive, and installed a filament runout sensor which dangled from a zip-tie for now. Well that BLTouch’s plug was totally different between the old and new board, and the wires were in a different order. The only way we were going to be able to get it connected was by splicing the right plug in. Finally the last excuse I needed to buy a soldering iron. One trip to the hardware store later and Red was helping me resolder the plug.
Then, with everything plugged in to the new board, we threw the power switched and hit connect in OctoPrint…
Bed: 20 degrees Celsius. Hot-End: 20 degrees Celsius. Victory! Finally we were able to heat up the hot-end and instruct the printer to retract, pulling the leftover green filament out of the printer. With that item finally crossed off the list, it was time to get to work on the others!
Final Steps: Firmware Again
The printer was responding to temperature-based commands and we were eagerly racing towards being able to print something, but there was a new hurdle in front of us: movement was backwards and homing jammed the printer into the wrong side. The firmware that shipped with this new board was clearly not built for my Ender 5 Plus, but by this point we were pretty familiar with editing and flashing the firmware, so it was just going to be a matter of finding a good baseline and customizing it. After some digging, we found a nice Marlin customization for someone who also had an Ender 5 Plus, BLTouch module, MicroSwiss direct drive extruder, and the same new board as me. Basically a perfect fit!
Comment
byu/jayglenn123 from discussion
inBIGTREETECH
This didn’t work exactly the way I needed right out of the box, but it was the closest any firmware had come so far, so Red and I poured through the provided configuration and compared it to some stock Marlin to make note of what had changed (while also pouring through a homemade bottle of plum cider, which in retrospect, made me a bit unfocused on firmware changes). We adjusted things like homing speed, which corner was actually home, we made changes in custom G-Code so that the bed offset would work properly and not grind the nozzle into the build plate…
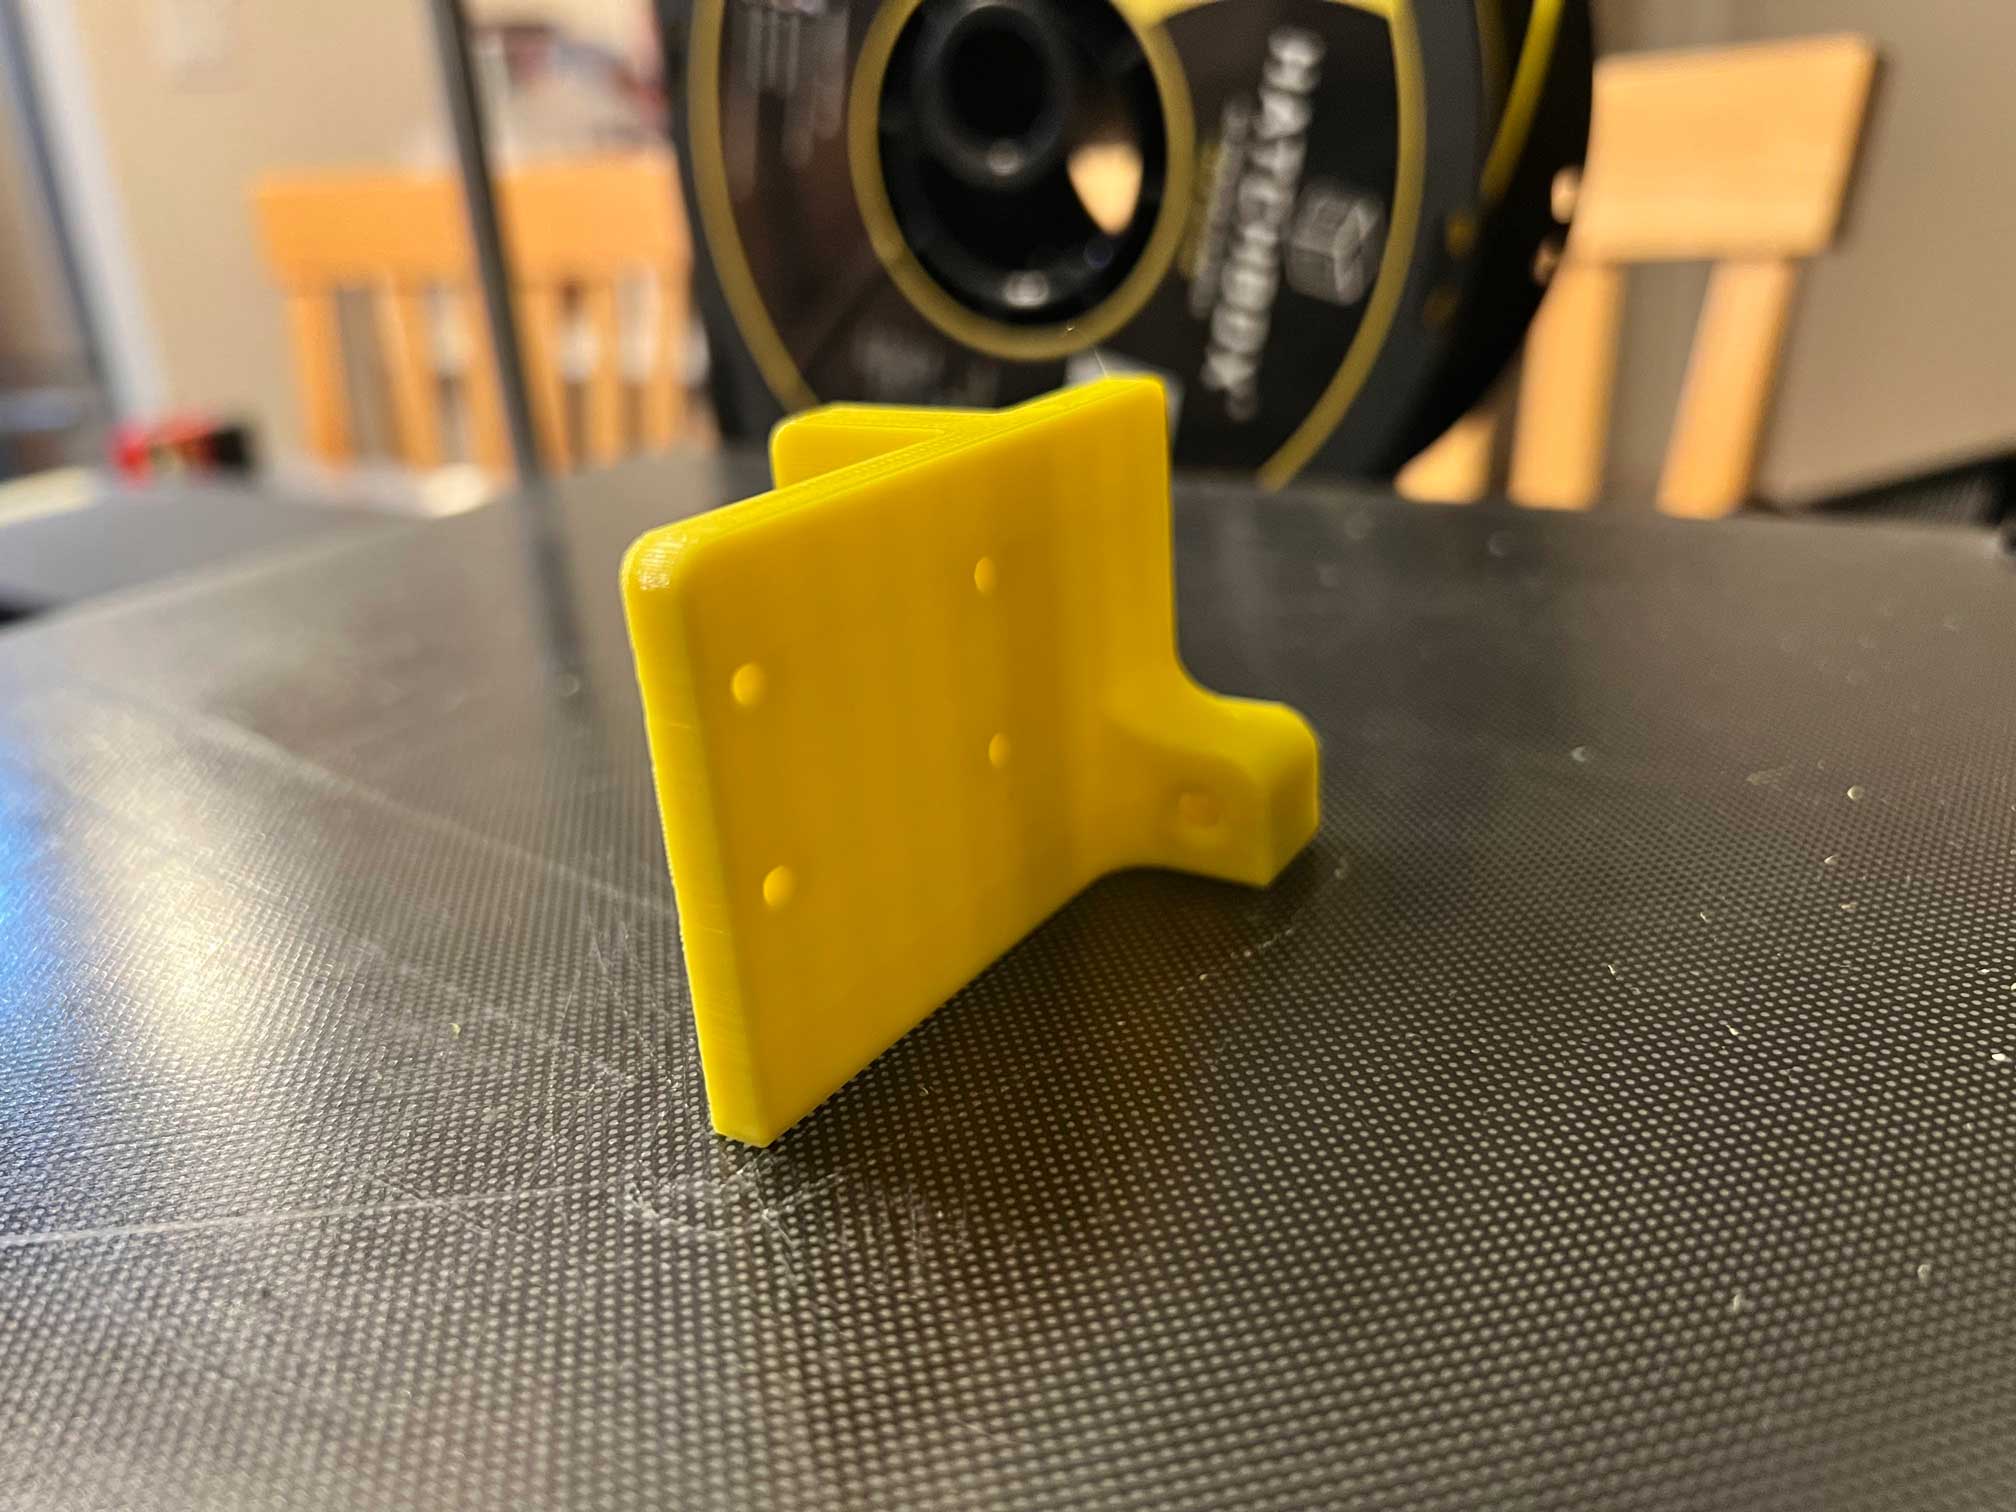
After much tinkering we finally had a compiled working version of the firmware which I’ve made available here if you happen to have the same exact setup as me, and flashed it to the board. We had no functional screen on the unit so everything was run through OctoPrint now, but we were able to heat it, home it, and even run the bed-leveler function! Everything aligned for us to be able to actually print, and what better thing to try first than a bracket so we could permanently mount that filament runout sensor which had so far just been dangling off one of the rails on a zip-tie. Red found an STL for the exact one I was using, we ran it through Prusa Slicer (since he’s a fan), and hit print…
Finally Printing
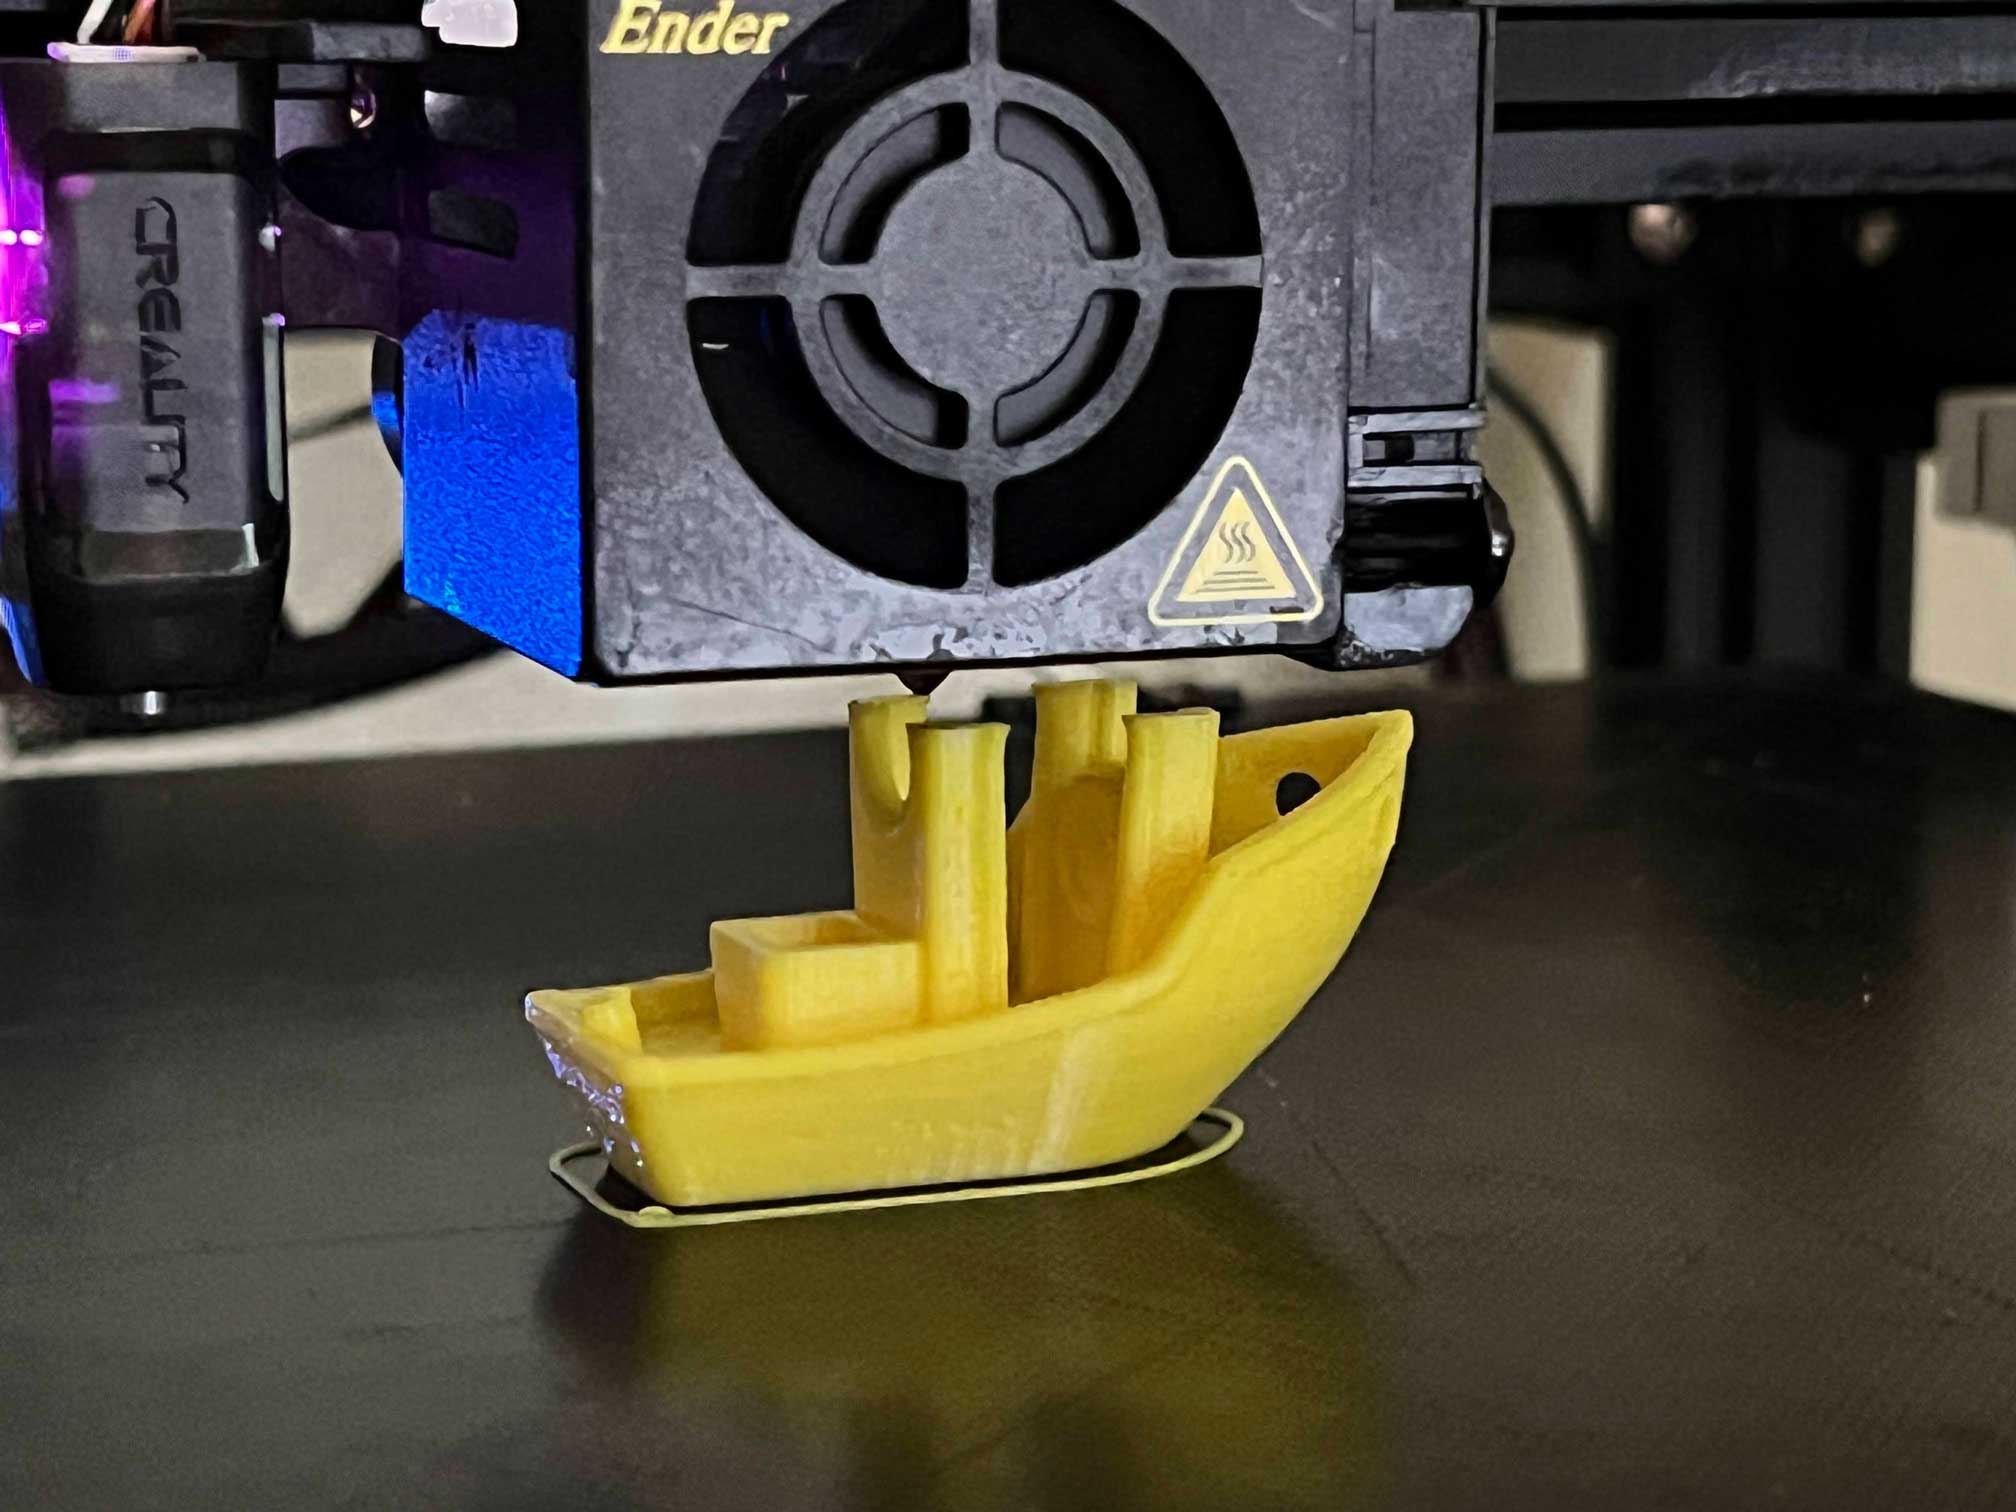
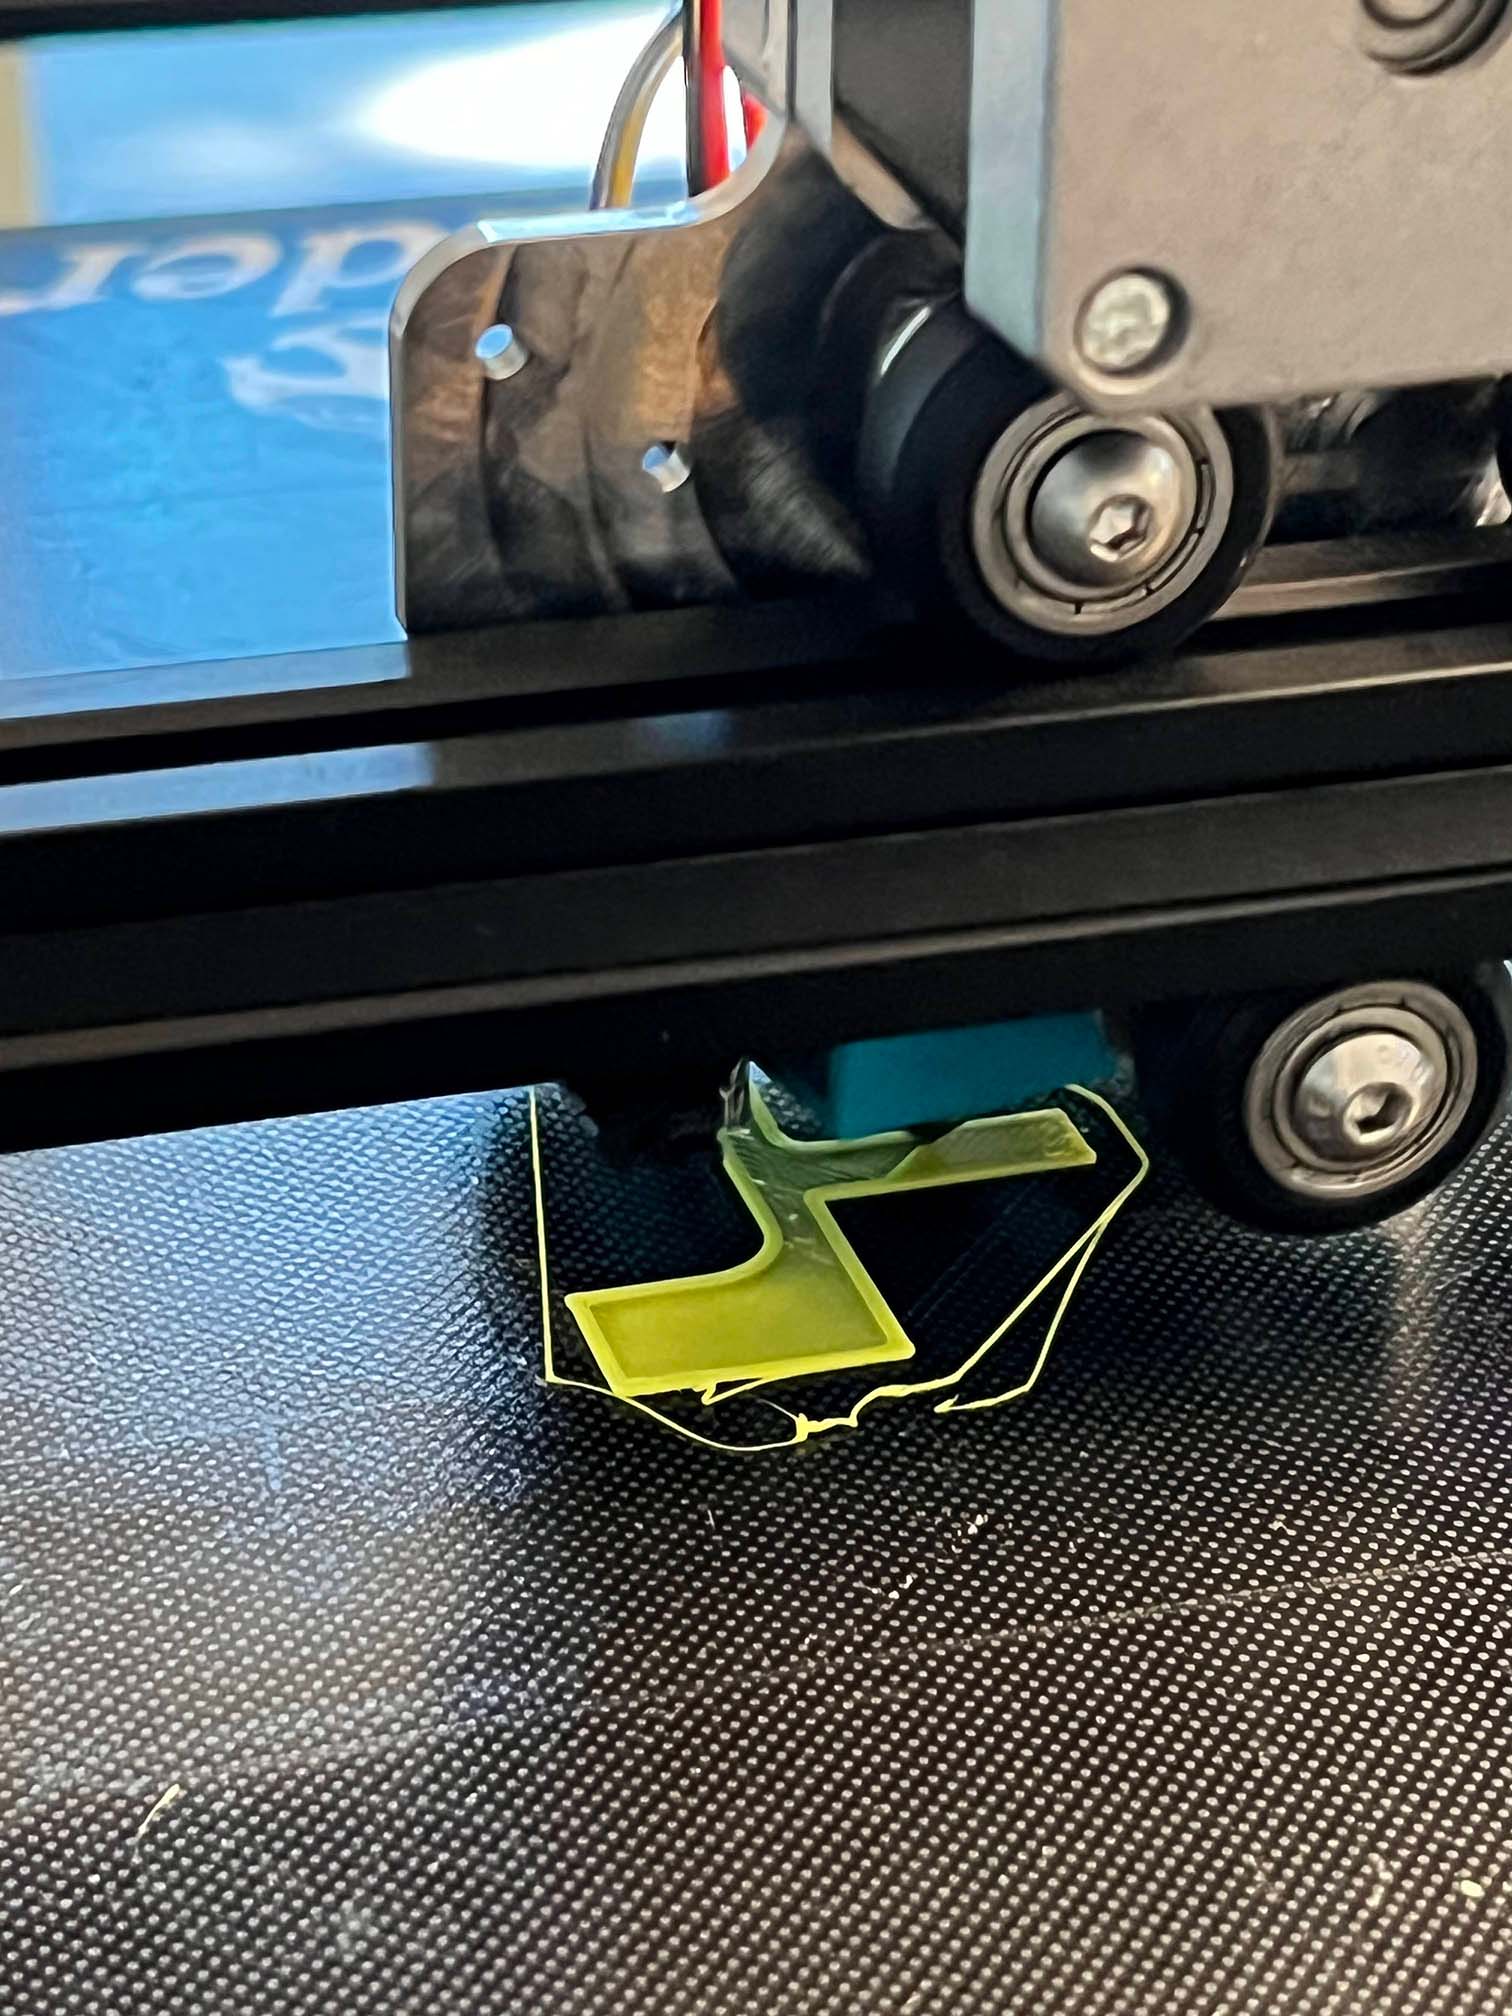 The temperatures ramped up, the printer homed itself, performed the first wipe, and began laying down plastic! The border around the bracket wound up pretty messy, but it looked like the first layer itself was turning out okay enough, so we let it run. We had a barbecue to get to, but with my housemates still home we knew we could leave it running, so we set up a webcam to watch the progress and took off, hoping that in a few hours we’d come back to a success after all the work we’d put in thus far.
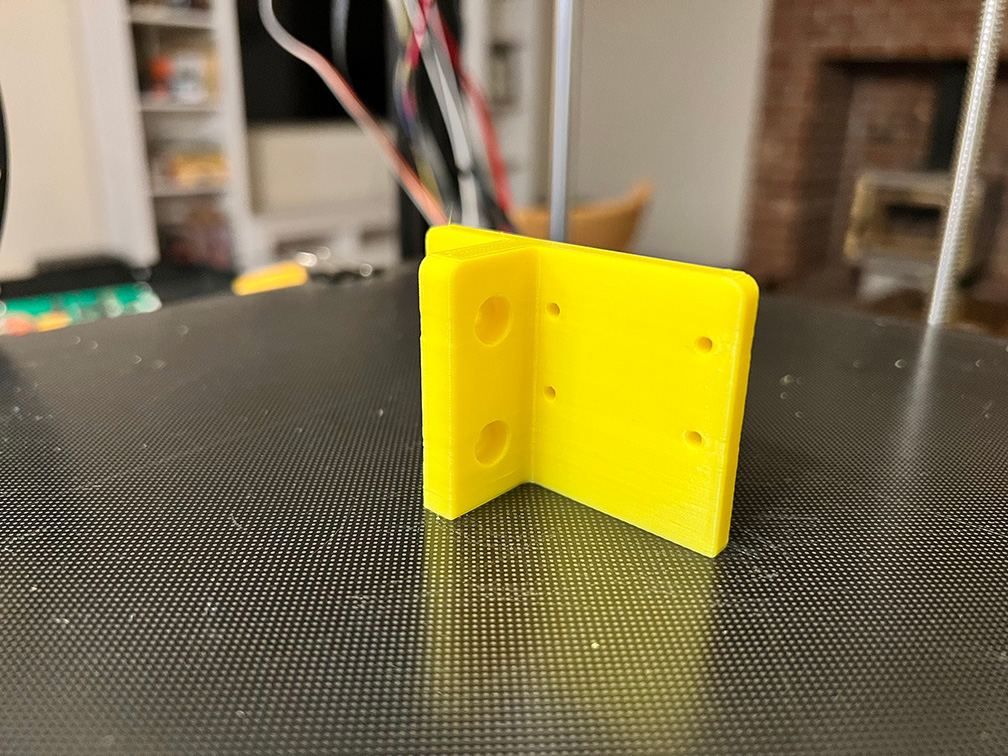
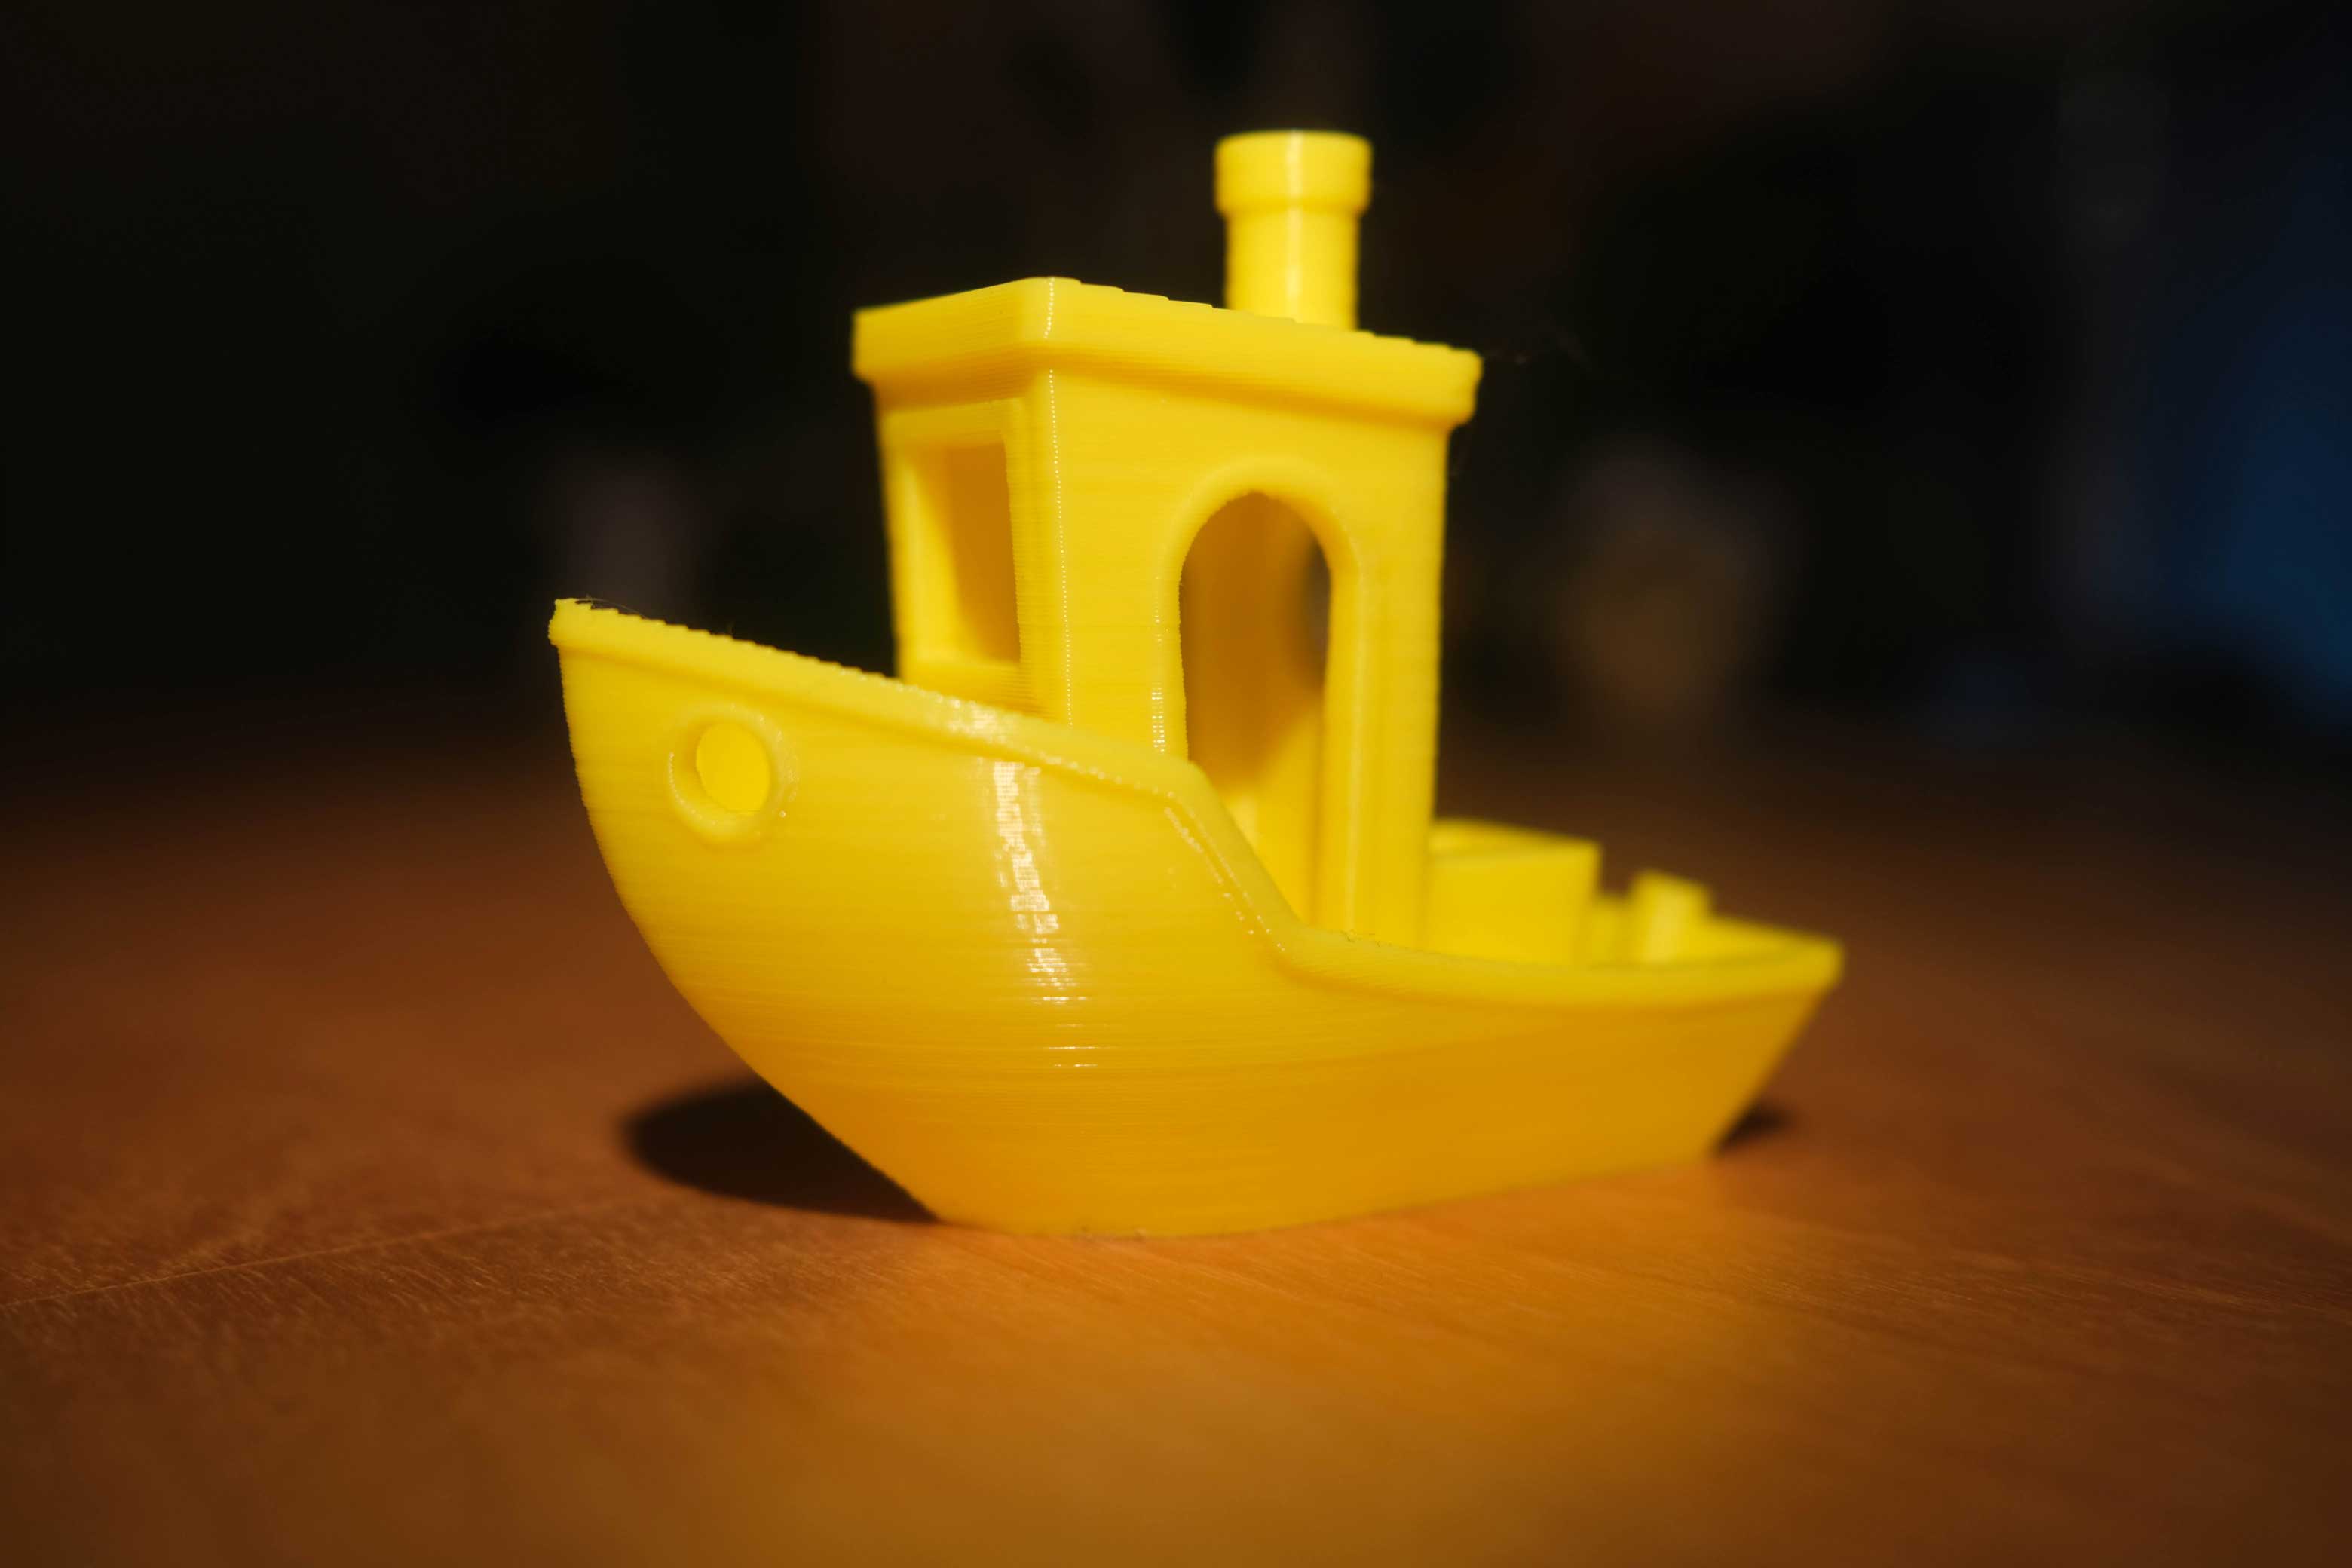
And when we returned, we that’s exactly what we found! There it was, my first 3D print (from my own machine and not some clunky outdated high school printer). There were a few pockmarks here and there and some of the edges looked a little wobbly, but it was structurally sound, and my printer had made it! I couldn’t be more excited and satisfied! I snapped it off the build plate and got it installed, re-cabled and closed everything back up since the printer was still very much in a half-assembled state, and moved it to its new home in my laundry room where it would be out of the way, but have tons of space. Now that I had a working printer, the sky was the limit, and it was time to start seeing what it could do!
Refining
I’ll give you three guesses as to what my first recreational print was and the first two don’t count.
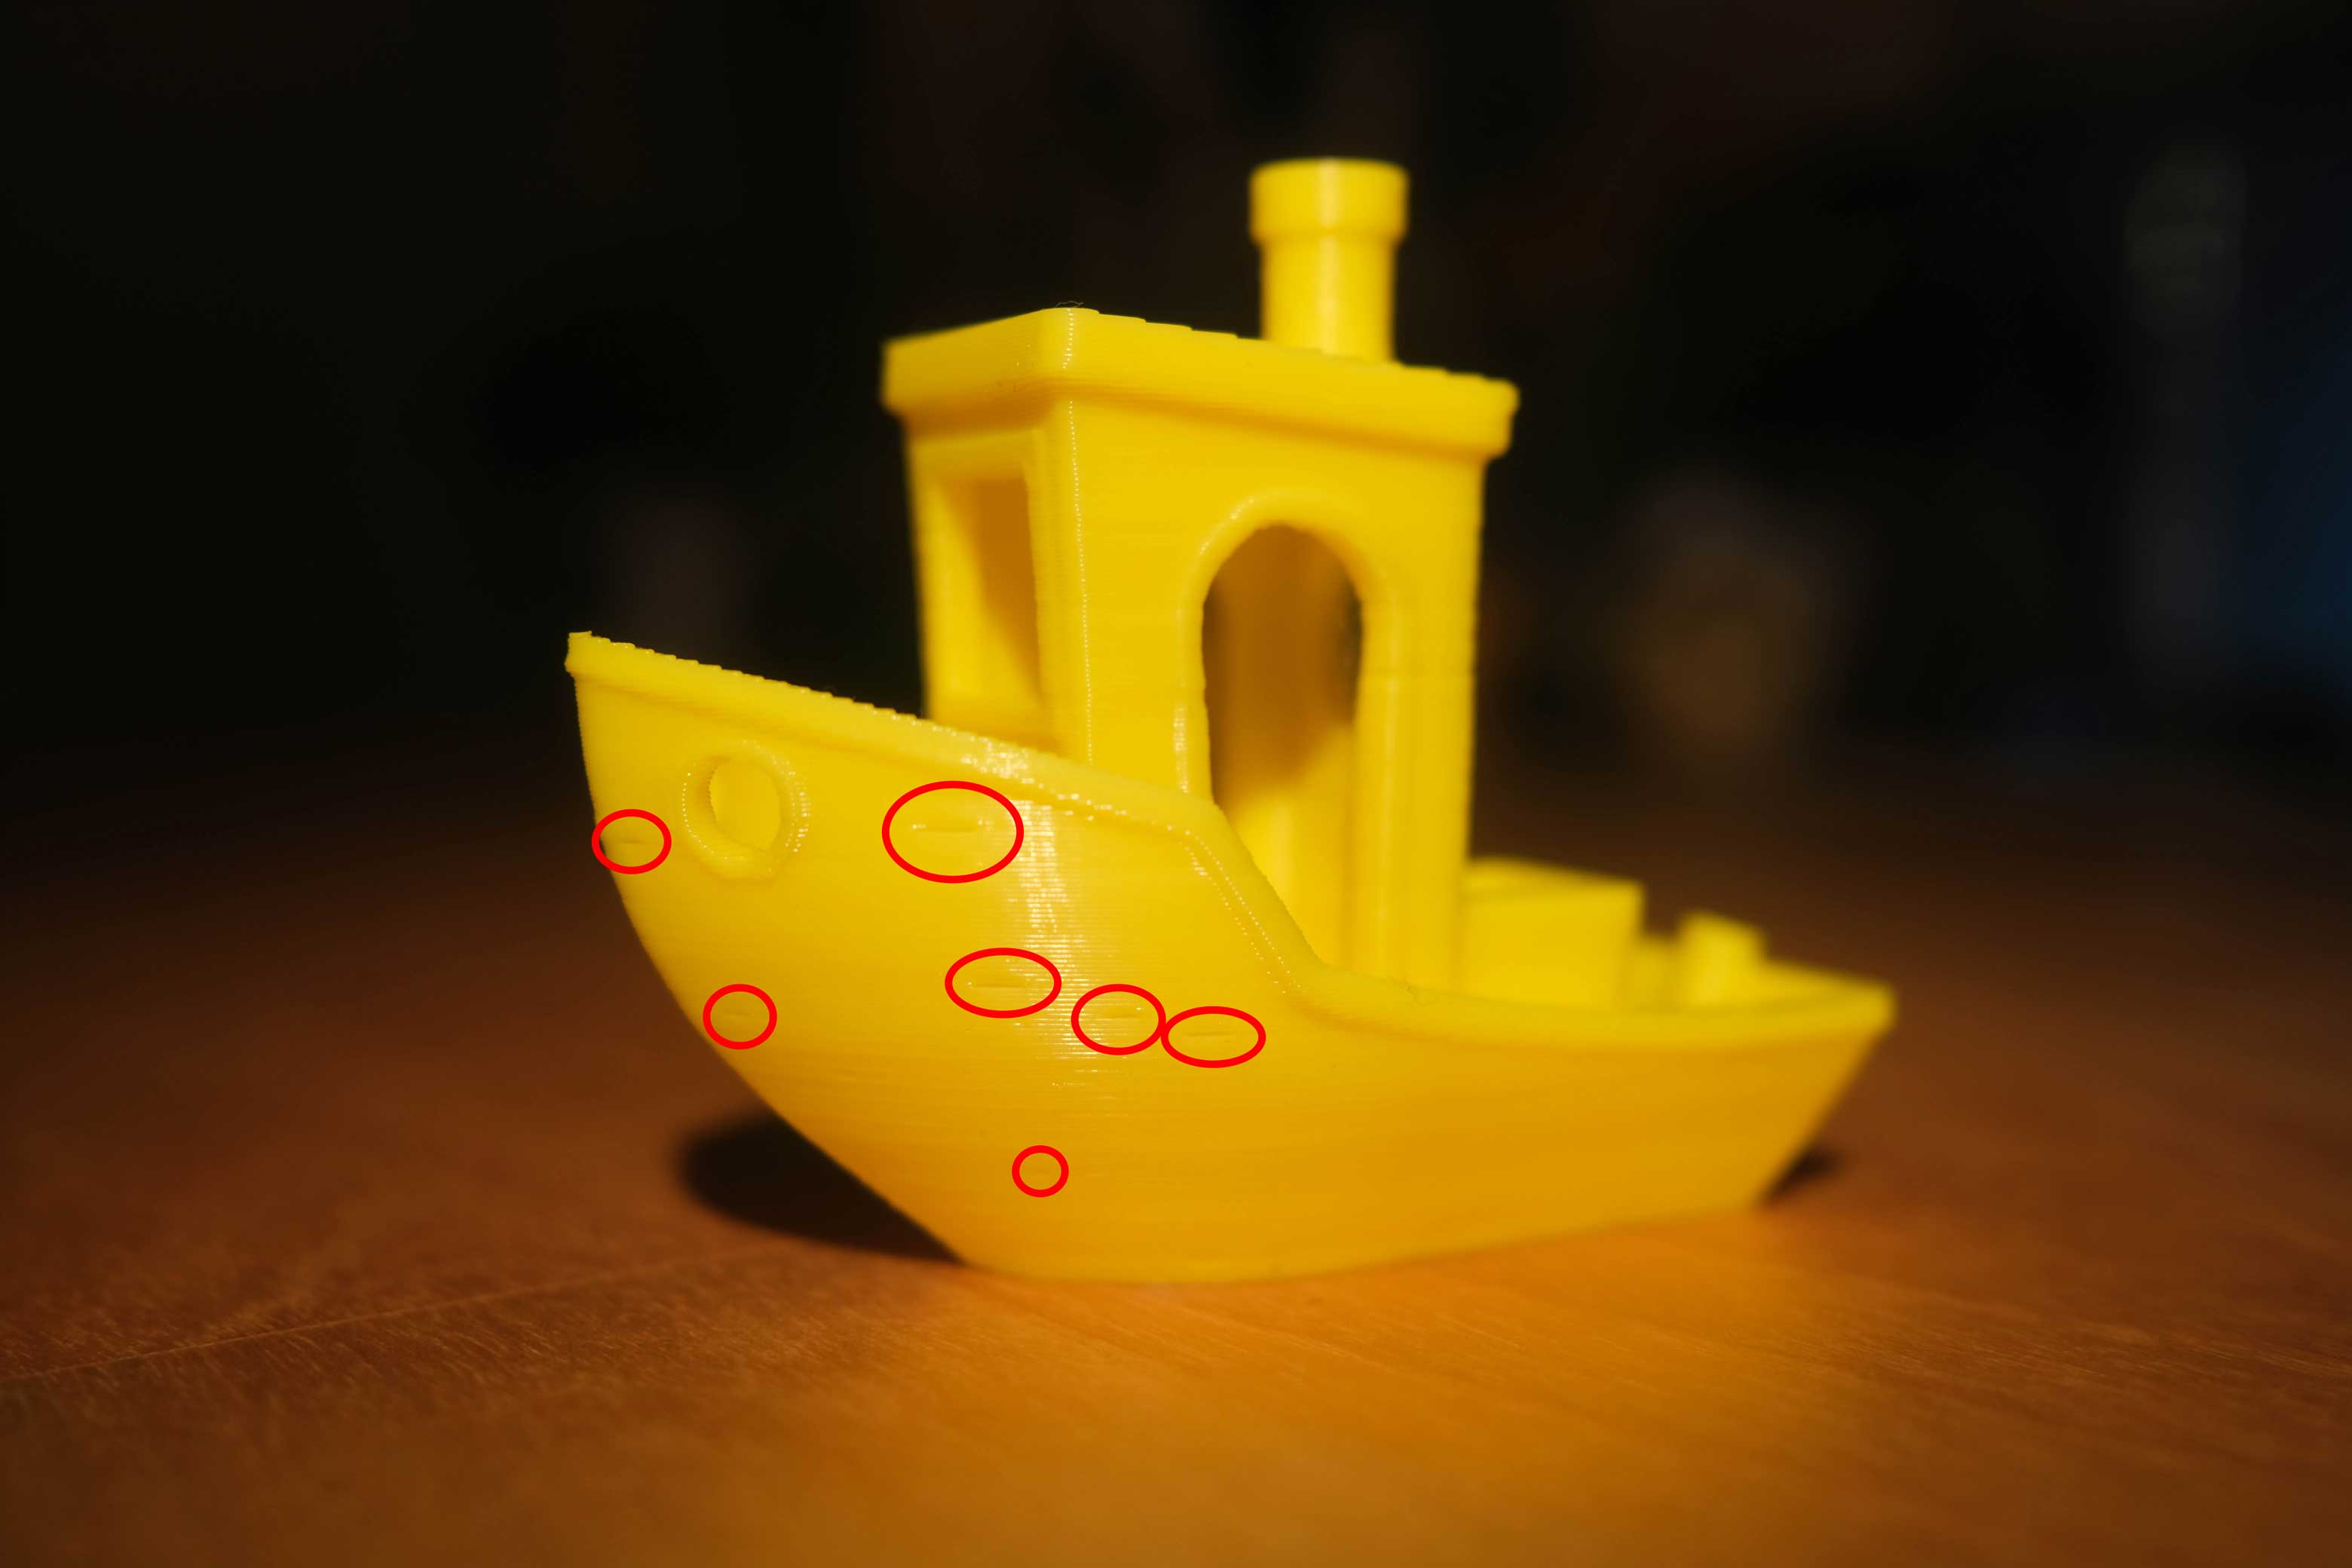
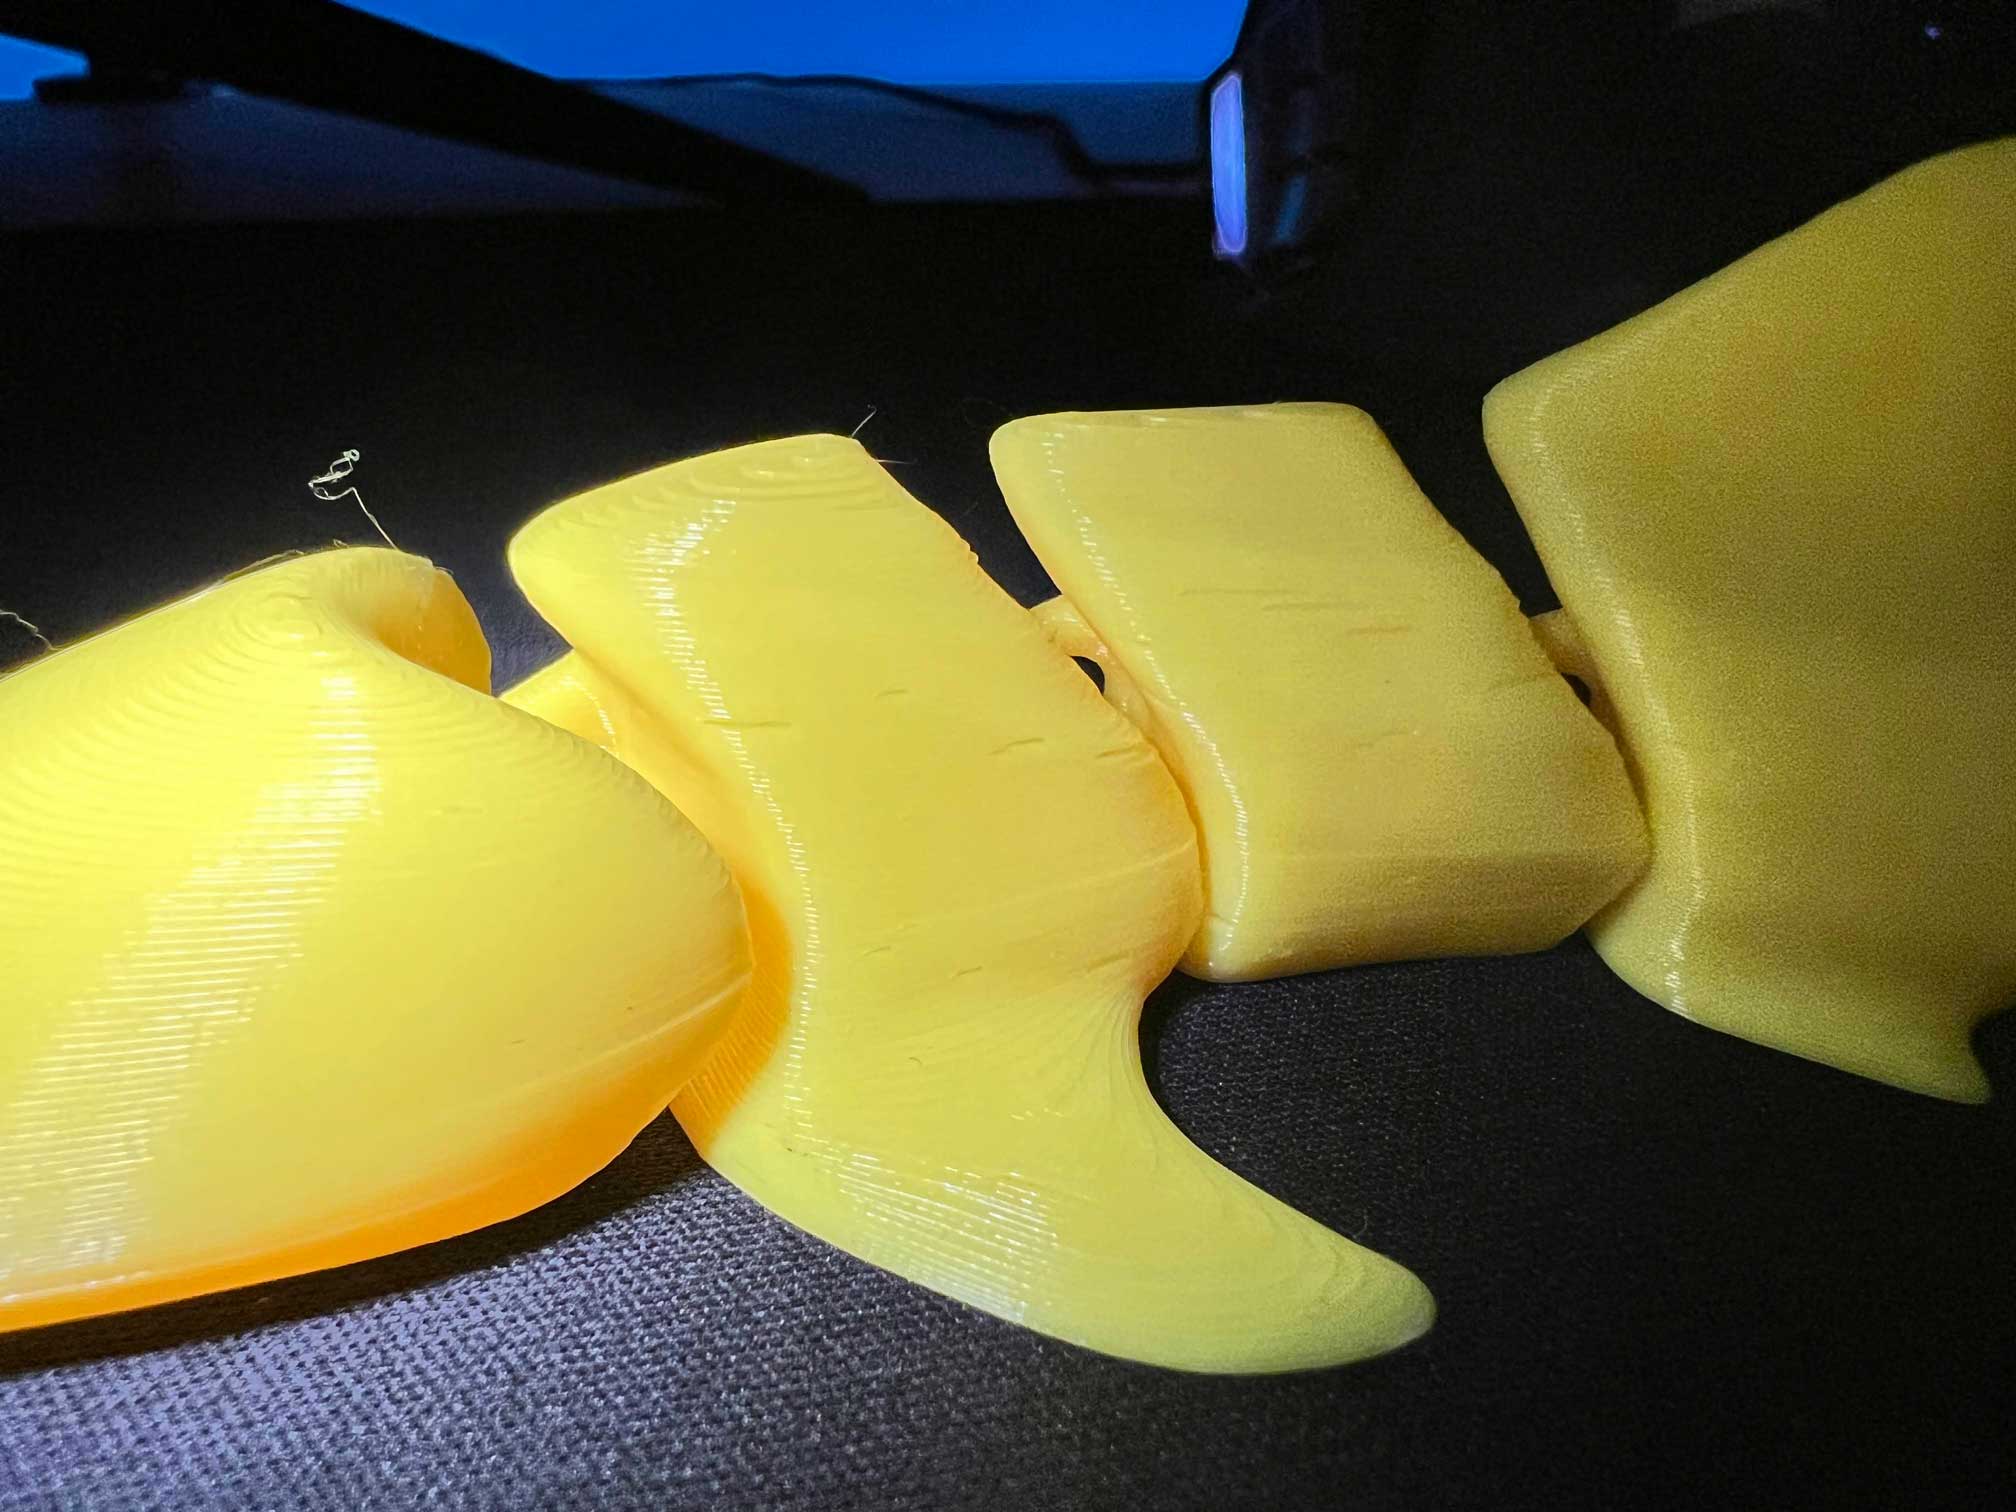 That’s right, it was time for my first Benchy! Watching this thing work, especially after having worked with Red for just over a week of work-nights to actually get it to this point was so satisfying. But the work wasn’t done yet. All along the outside surface of the Benchy were these little tiny pockmarks at various spots. When I did a test print of a cool articulated whale shark, I got similar marks all along the outside. They weren’t massive, but they were numerous and undesirable, so I had some things I needed to look into:
- Moisture
- Retraction
- Seam location
- Nozzle replacement (I still haven’t done this and really should)
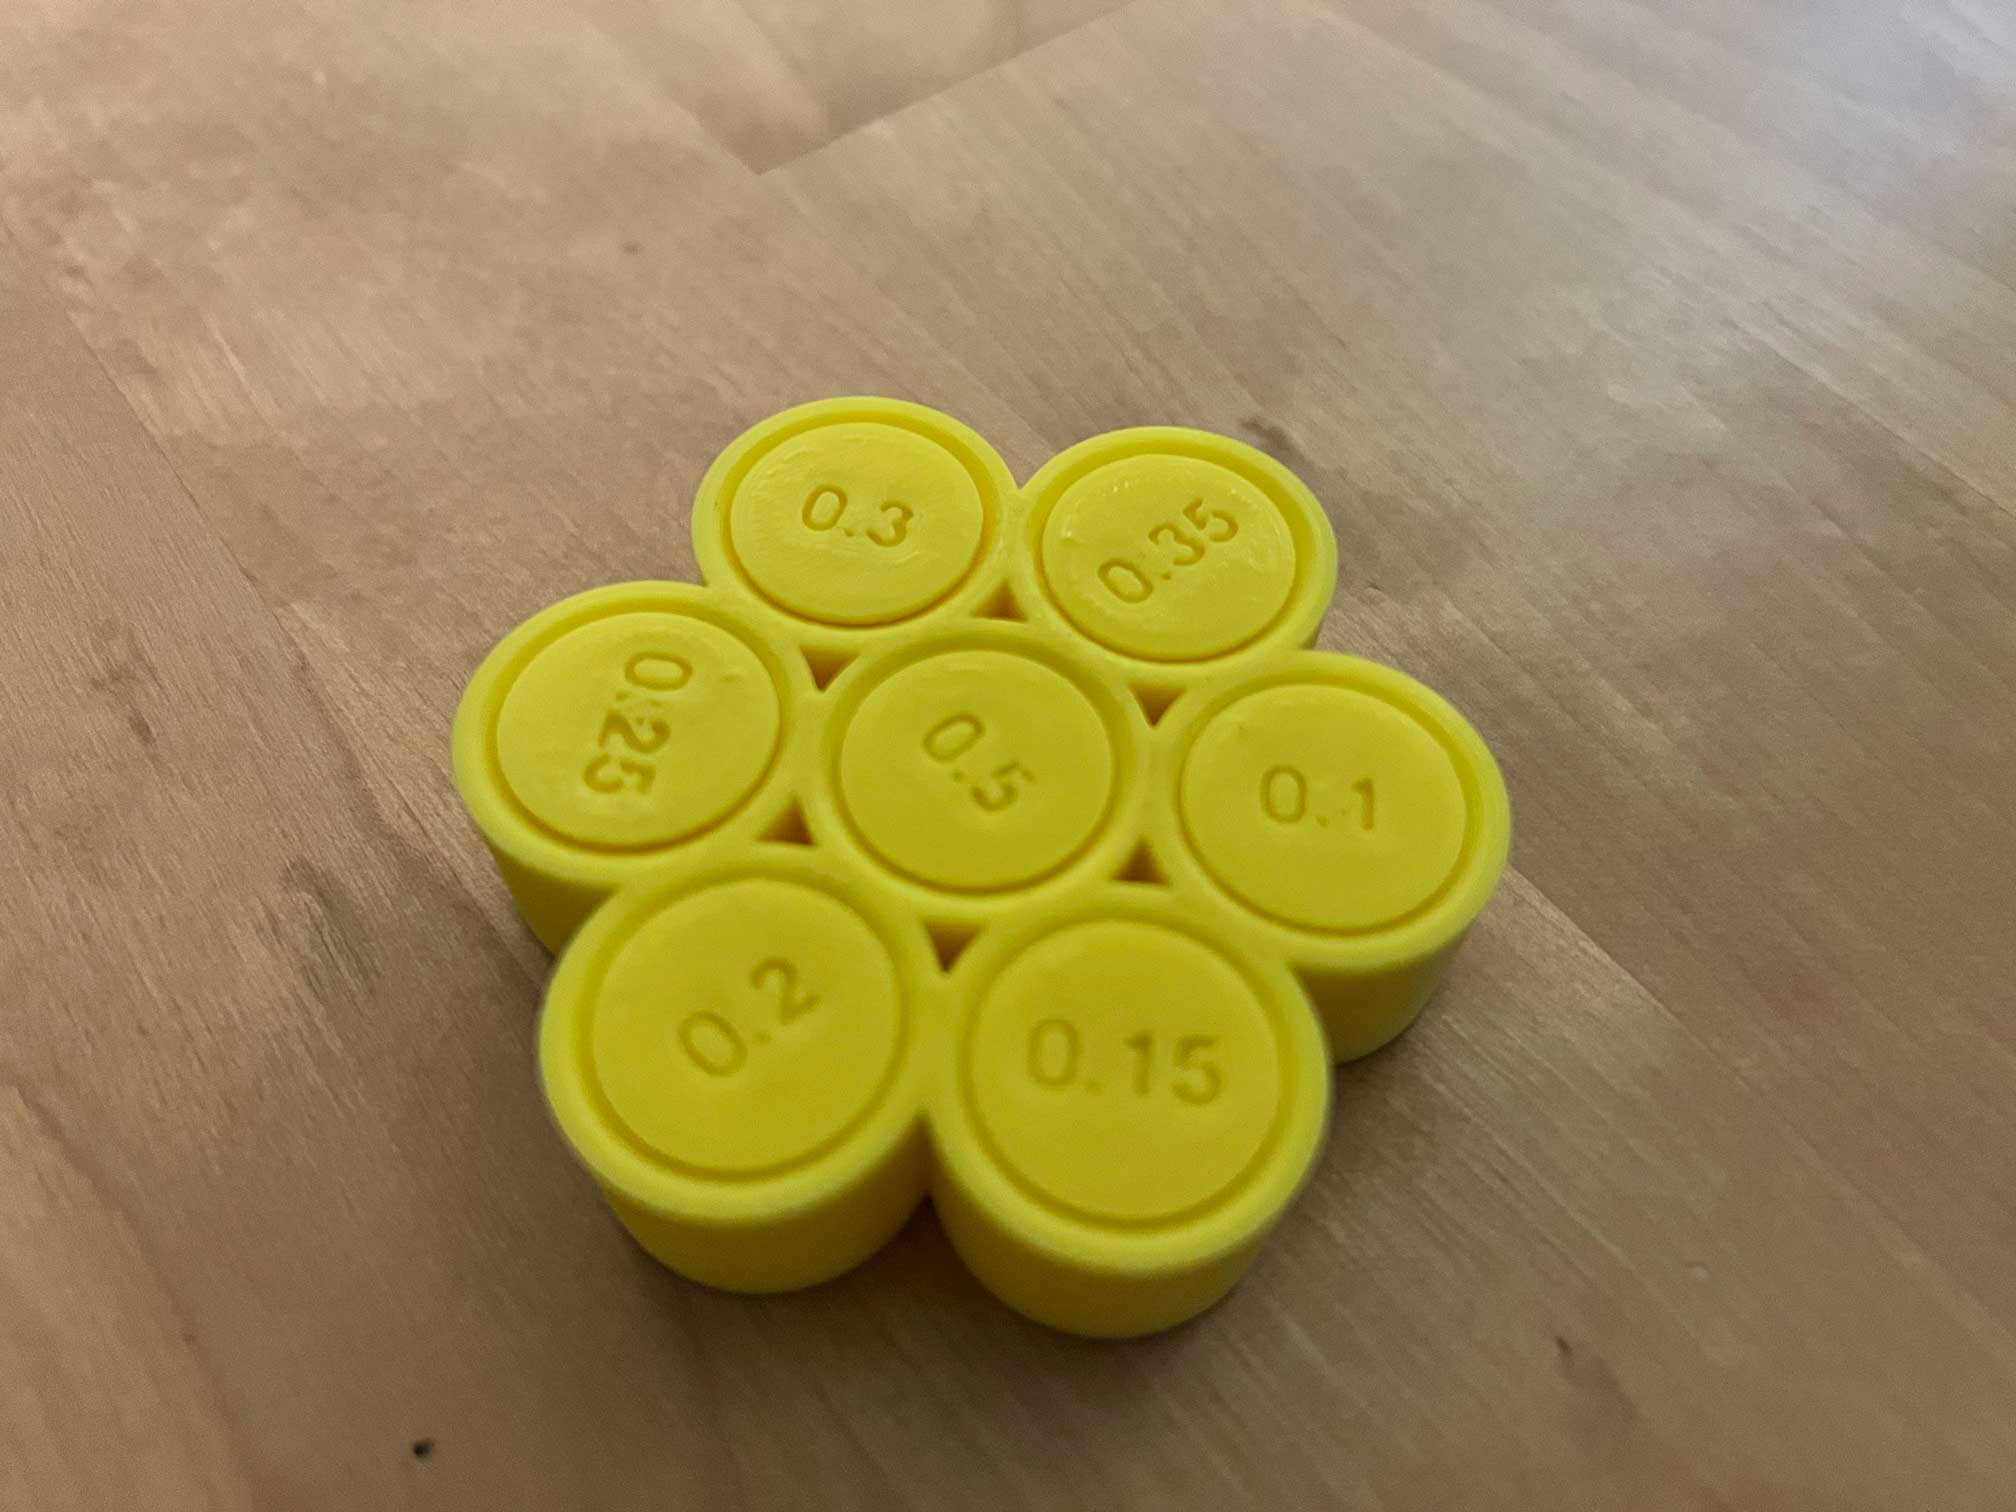
I dried the filament by setting my bed to 45 degrees Celsius with the box over top of it and a hole pocked in it for the moist air, and I dropped the retraction setting in Prusa Slicer from 0.6mm to 0.2mm, giving it another go. Bingo. There was maybe one or two pockmarks I could find if I really went looking for them, but overall the print was looking much much neater than before:
Before and after
Repair TL;DR:
- Got a new-to-me Ender 5 Plus that needed some work from my step-grandfather
- Cleaned and checked all wires and connections, all were found to be okay
- Checked resistance of a troublesome hot-end thermistor, found it to be okay
- Discovered the main board was failing us, swapped it to a BTT SKR Mini E3V3
- Compiled custom new firmware based on someone’s similar build
- Tweaked bed offset to accommodate my extruder and nozzle, as well as retraction, dried filament, and calibrated several times to nearly eliminate pockmarking
Look Ma’ I’m Printing!
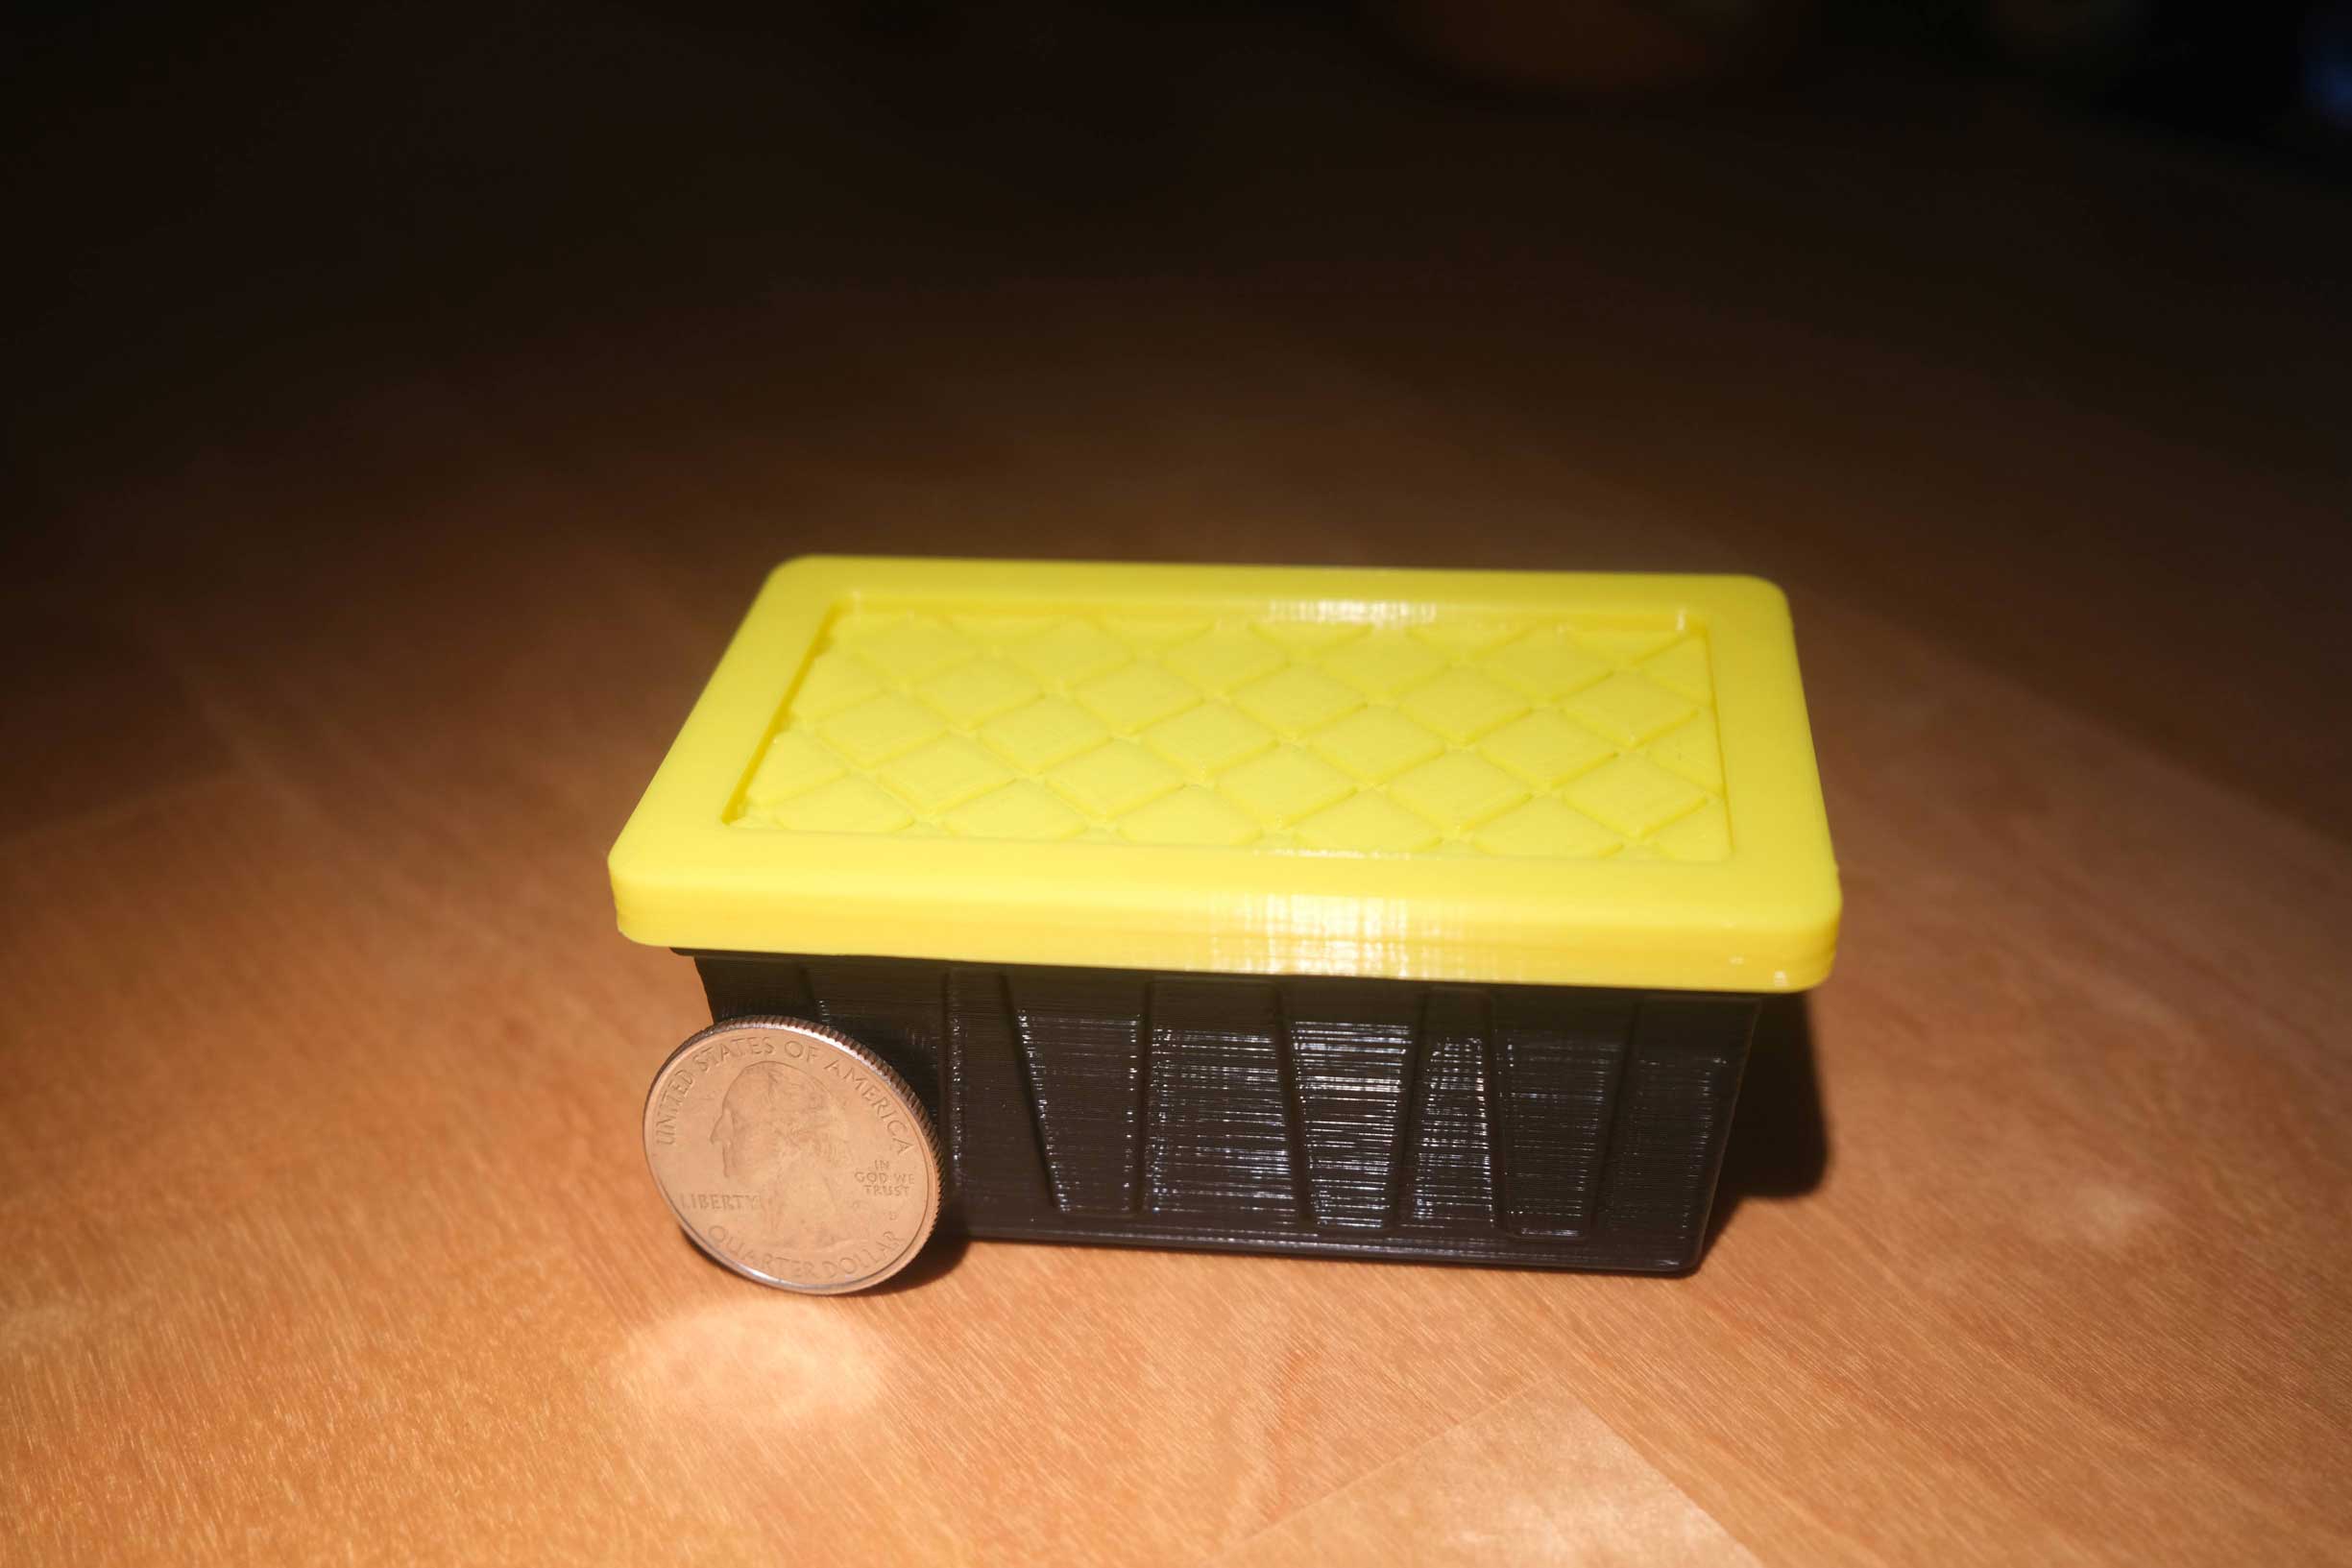
So that was it! I now had a functional printer, a way to control it, and a whole world of things I could create! I’d had a blast already, and things were only just getting started! I tried out a few more silly test prints by making a nice tolerance tester, a print-in-place fidget cube, a tiny version of the hardware store bin I store camping gear in, and some whistles. So far they’ve all turned out quite well, and now that Red had helped me gain the confidence to at least dip my toes into fixing something and get it in working order, I felt excited for the next major project, whatever it may be! Maybe I get into CAD so that I can start designing my own prints!
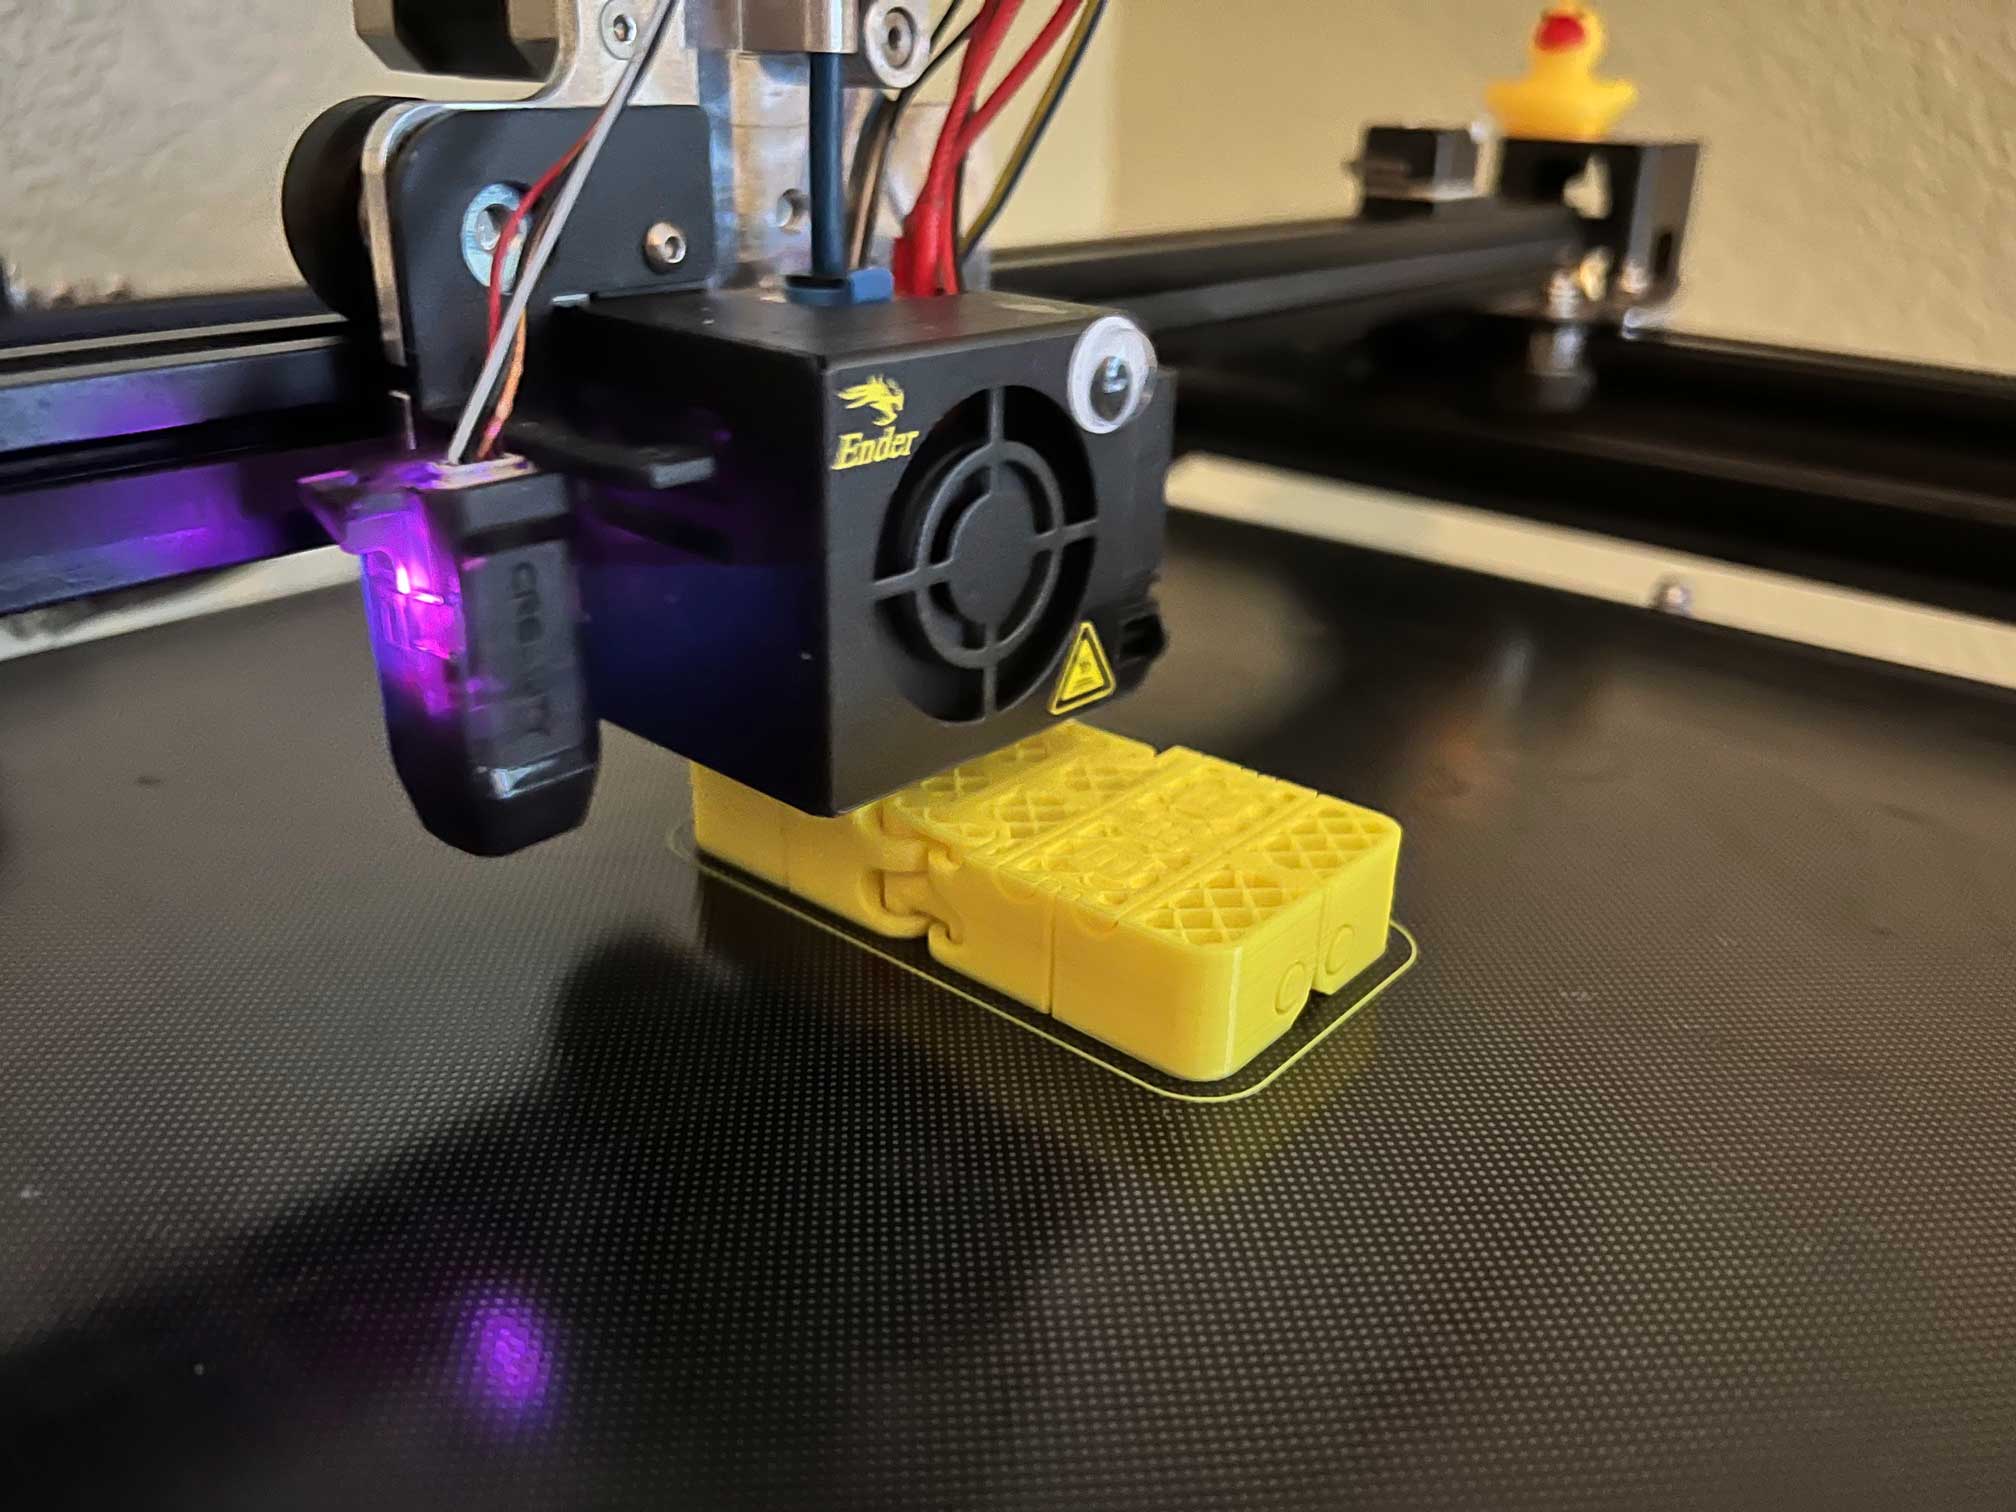
Now if you’ll excuse me, it’s going to take quite a few of these tiny bins to go camping!